Yahoody
One Too Many
- Messages
- 1,110
- Location
- Great Basin
I need to preference this thread a couple of different ways. First off, a hat for me is a tool first and foremost. It is a fashion statement 2nd. Mind you how I look in my hat is really important to me....but it is not my first priority. I won't wear a hat I don't like. But I won't wear a hat that won't do the job either.
When you go to judge my comments think back to this as to why I do what I do.
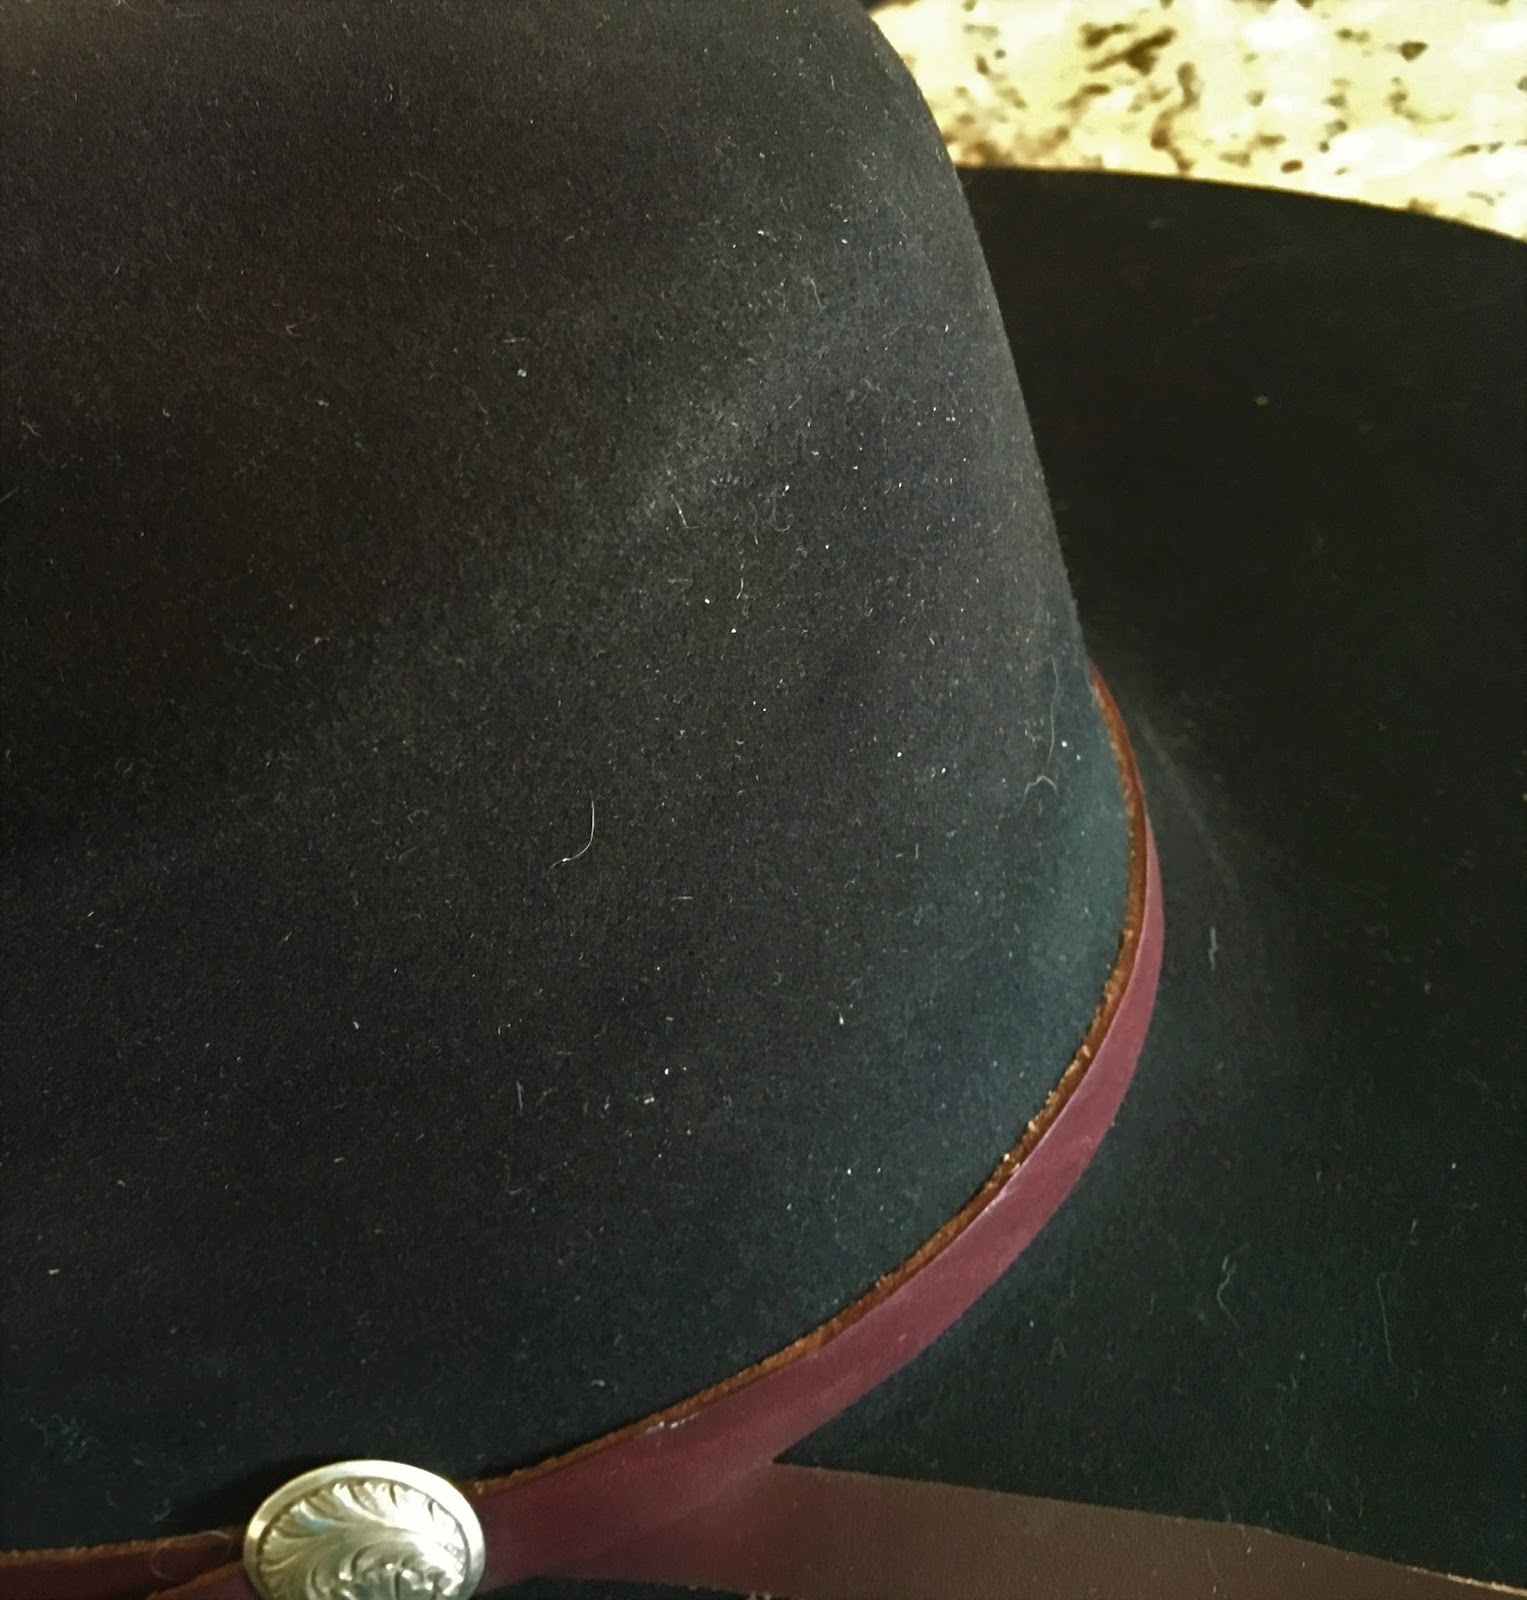
Using the techniques I use will get you a nice hat. And if you have the skill and the right priorities it will get you a really nice hat. My priority is durability. For that I want a time proven 100% beaver blank from Winchester. Sure I want it to look good but the cosmetics are up to what I have for patience and the skills to accomplish.
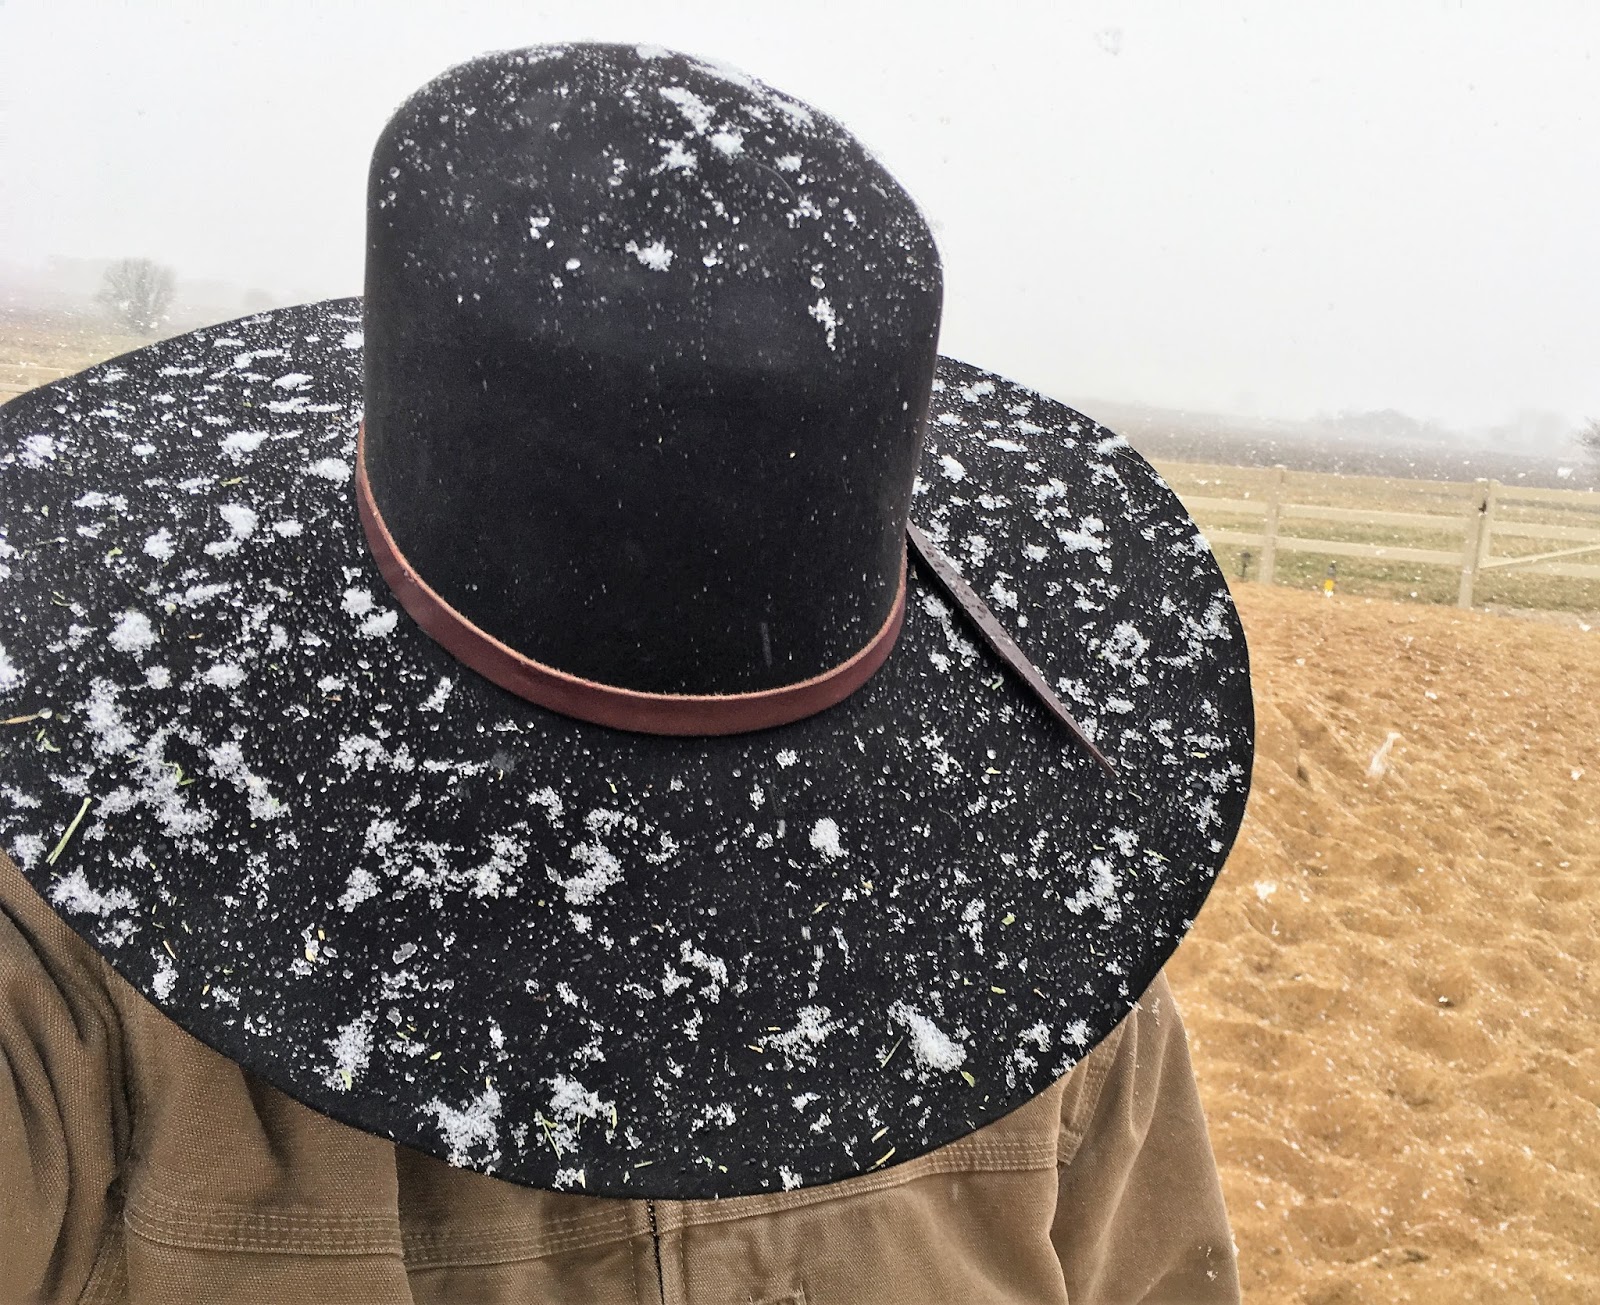
As a tool....I want a durable hat. Not everyone will use a hat as a tool. But working with horses makes your hat a tool. A big hat keeps the rain and sun off. But it also gives a cantankerous horse a much bigger and obscured, indefinite target when they go to kick or bite you. It happens with even the "nice" horses. Same reason you wear high thick leather boots and chaps...protection from the animals and sharp objects like thorns and barbed wire among the many way to get hurt working around animals.
A big hat or the fringe on your chaps makes the real target (you) much harder to hit.
In a pinch, to keep from getting ran over by horses or cattle, one might pull off your hat and wave it around to make you appear much bigger physically than you actually are. It happens and you'll likely not care much about how you handle your priceless custom beaver hat beaver during the next few terrifying seconds") Ended up tearing the sweat band out of one of my hats in just that scenario the other day. And was happy to do it compared to the other possible outcomes. That kind of use and abuse also makes you appreciate what can be done with a simple needle and some millinery thread to fix it.
Ended up tearing the sweat band out of one of my hats in just that scenario the other day. And was happy to do it compared to the other possible outcomes. That kind of use and abuse also makes you appreciate what can be done with a simple needle and some millinery thread to fix it.
Once you know what millinery thread (waxed nylon thread) actually is.....how you look at hats and your hat world will likely change some.
Hand sewn hats are an acquired taste. What I wanted early on was a lot of things done on a machine. Makes for a very tidy hat. And just like everyone else I have come to expect a nice hat to be tidy
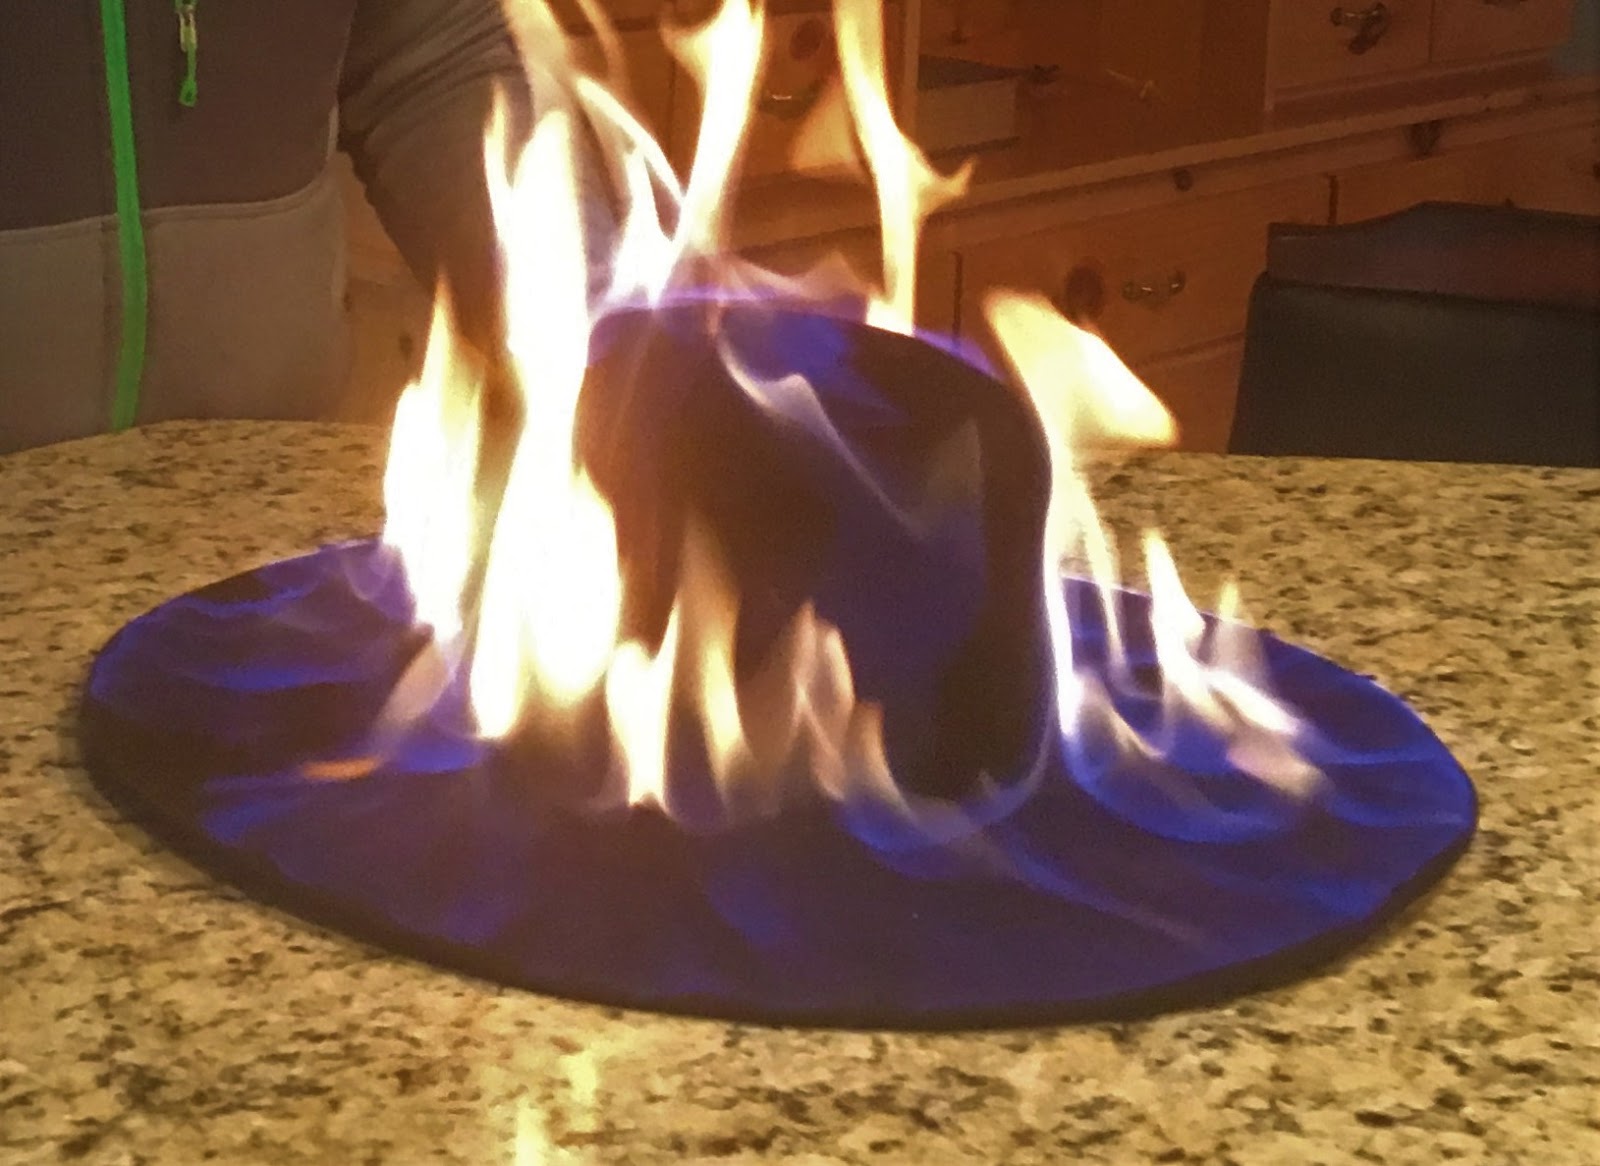
Turns out that after you have rotten out a sweat band's sewing or trashed a liner or two in just one summer...tidy don't mean much (to me) any more. I want durable with a silky soft feel. Dang near water proof and a hat that holds is shape, sweat or rain soaked. And a hat I can easily rebuild as needed.
I've been playing with felt hats since grade school, trimming, rebuilding and reblocking them. Building my own hats some 50+ years later is a hobby I enjoy. But there are no secrets to building a good hat. Might be a few to building a purty hat Most I likely don't know or simply don't care about.
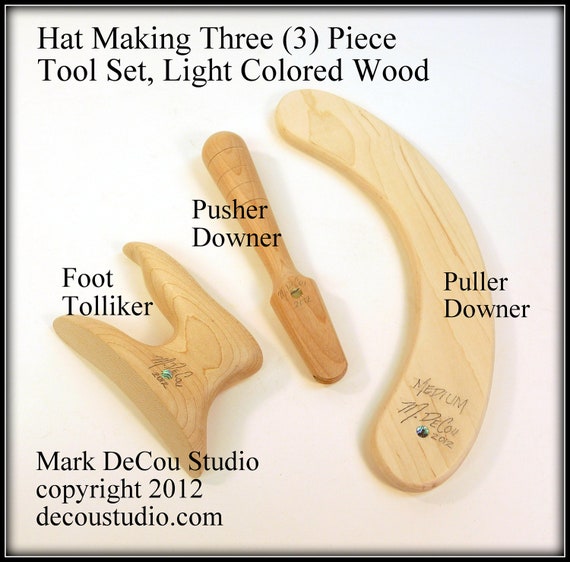
I build just for myself and family, no more than 2 at a time. Start to finish 2 or 3 days generally. Next up is how I get started with a hat blank, the shapes and crowns I use and why, and what I use for tools (it aint much).
Figured it is time to share. No reason not to make your own hats on occasion.

Back in the old days when my oldest gelding was not very friendly and a bit of an outlaw The hat was a 25 year old 7x Bailey. I still use that hat. Guess we should talk some about Xs ?
When you go to judge my comments think back to this as to why I do what I do.
Using the techniques I use will get you a nice hat. And if you have the skill and the right priorities it will get you a really nice hat. My priority is durability. For that I want a time proven 100% beaver blank from Winchester. Sure I want it to look good but the cosmetics are up to what I have for patience and the skills to accomplish.
As a tool....I want a durable hat. Not everyone will use a hat as a tool. But working with horses makes your hat a tool. A big hat keeps the rain and sun off. But it also gives a cantankerous horse a much bigger and obscured, indefinite target when they go to kick or bite you. It happens with even the "nice" horses. Same reason you wear high thick leather boots and chaps...protection from the animals and sharp objects like thorns and barbed wire among the many way to get hurt working around animals.
A big hat or the fringe on your chaps makes the real target (you) much harder to hit.
In a pinch, to keep from getting ran over by horses or cattle, one might pull off your hat and wave it around to make you appear much bigger physically than you actually are. It happens and you'll likely not care much about how you handle your priceless custom beaver hat beaver during the next few terrifying seconds
Ended up tearing the sweat band out of one of my hats in just that scenario the other day. And was happy to do it compared to the other possible outcomes. That kind of use and abuse also makes you appreciate what can be done with a simple needle and some millinery thread to fix it.Once you know what millinery thread (waxed nylon thread) actually is.....how you look at hats and your hat world will likely change some.
Hand sewn hats are an acquired taste. What I wanted early on was a lot of things done on a machine. Makes for a very tidy hat. And just like everyone else I have come to expect a nice hat to be tidy
Turns out that after you have rotten out a sweat band's sewing or trashed a liner or two in just one summer...tidy don't mean much (to me) any more. I want durable with a silky soft feel. Dang near water proof and a hat that holds is shape, sweat or rain soaked. And a hat I can easily rebuild as needed.
I've been playing with felt hats since grade school, trimming, rebuilding and reblocking them. Building my own hats some 50+ years later is a hobby I enjoy. But there are no secrets to building a good hat. Might be a few to building a purty hat
Most I likely don't know or simply don't care about.I build just for myself and family, no more than 2 at a time. Start to finish 2 or 3 days generally. Next up is how I get started with a hat blank, the shapes and crowns I use and why, and what I use for tools (it aint much).
Figured it is time to share. No reason not to make your own hats on occasion.
Back in the old days when my oldest gelding was not very friendly and a bit of an outlaw
The hat was a 25 year old 7x Bailey. I still use that hat. Guess we should talk some about Xs ?
Last edited: