airforceindy
One of the Regulars
- Messages
- 263
- Location
- Anchorage, AK
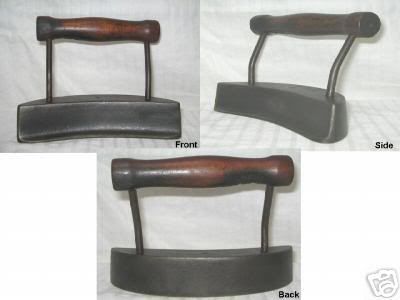
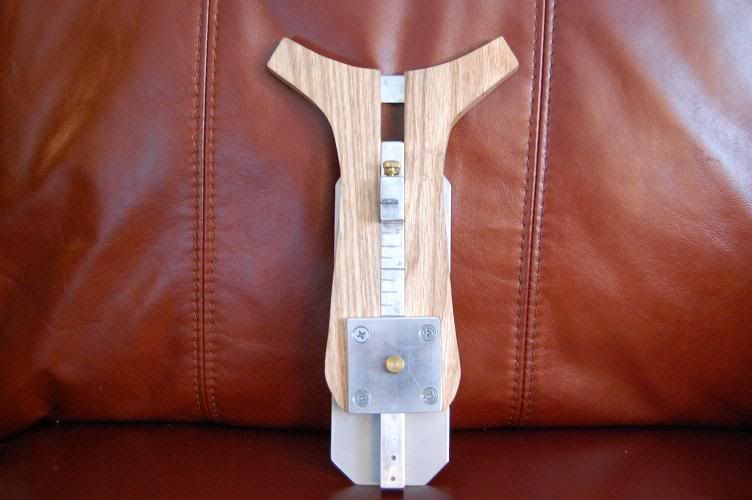
I did a search for 'tollicker', which didn't turn up much. The best thing I came up with was a pic on Jimmy Pierce's site of an old one he has for sale. Are there any other photos out there of vintage hatter's tools like this? If I can make them myself I will; but I need to know what I need first. So far I've narrowed it down to blocks, flanges, a tollicker, the obvious irons, and an adjustable brim jack (trimmer).
Regards, Andy
Regards, Andy
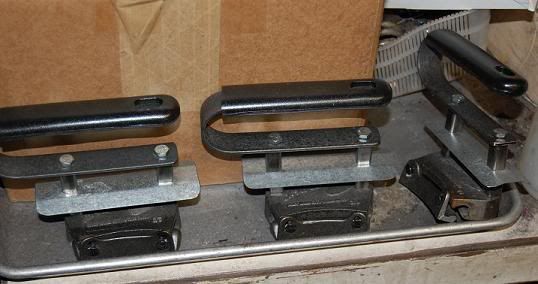


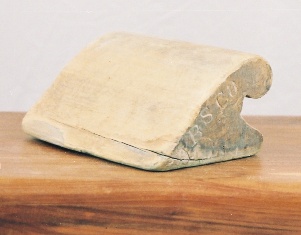


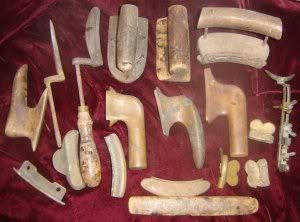
") ) tollikers of different design with curved radiuses.
) tollikers of different design with curved radiuses. 