- Messages
- 18,936
- Location
- Central California
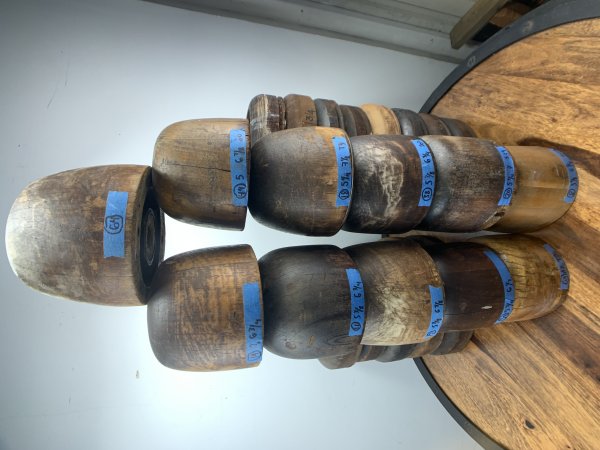
We got a real ball buster here lol
Selling blocks at $38 a pop
I’m in! I’m interested in most any block profile in 7 7/8, 7 3/4 and 7 5/8 and flanges for the same with brim widths of 2 5/8” and up. I think you’ll have a lot of interest from the folks here.
Brent
")