Want to buy or sell something? Check the classifieds
  • The Fedora Lounge is supported in part by commission earning affiliate links sitewide. Please support us by using them. You may learn more here.

Memorial Day Refurb Project

barrowjh

One Too Many
Messages
1,398
Location
Maryville Tennessee
A journey that began just a few hours before a wedding on 5/25/13 and ended with a project started and completed to day, Memorial Day 2013.

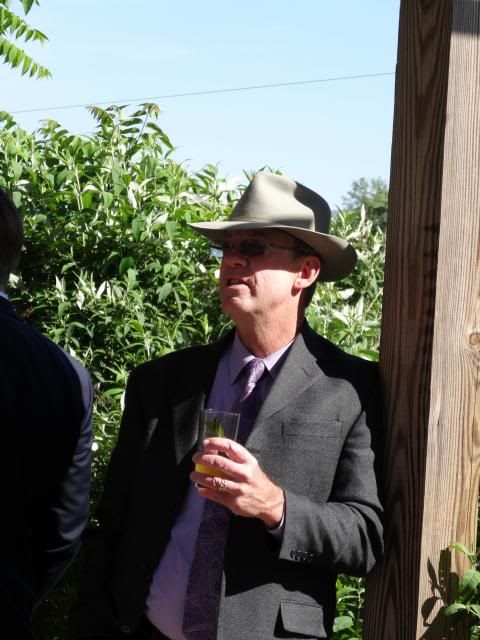
Attended the wedding of Kevin Trempe to Alexandria (Lexi) Kierst on May 25th 2013 in Lexington VA. Sporting one of my very best thin-ribbons, a Resistol Beaver 25 San Antonio. Trying an Arnold Palmer concoction.

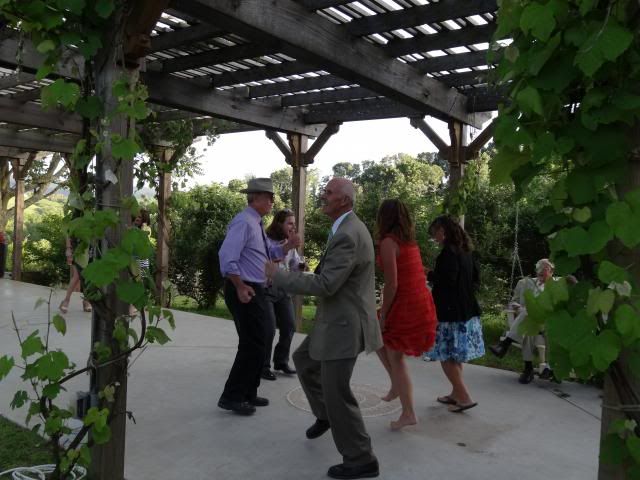
Dancing my intoxicated butt off. Took off that San Ant and wiped the sweatband dry after every dance. A few hours prior to the wedding I visited Duke's Antiques in Lexington.

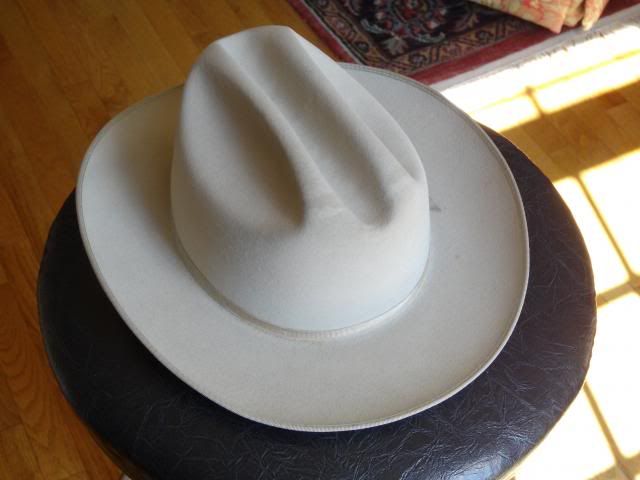
Found this pitiful Stetson Open Road 4X Beaver with some ugly stains across the cattleman crease in the front.

It was priced $45 on sale for just $25, and though I resisted, ended up capitulating to it. It was crying out for some TLC.

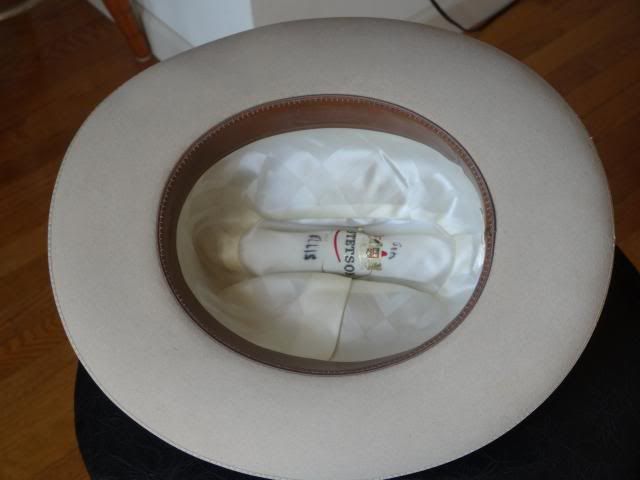
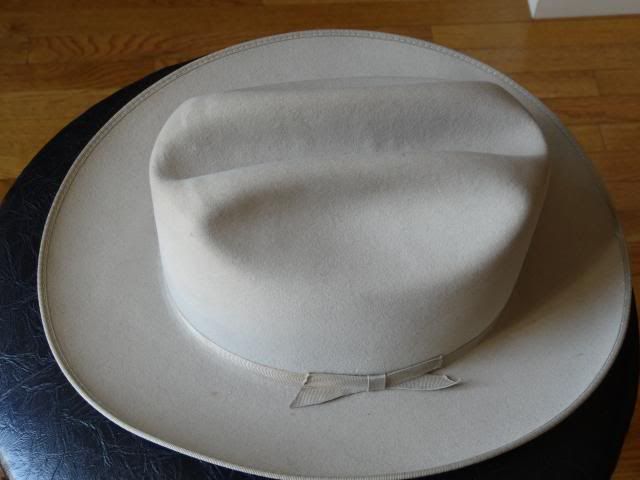
Previous owner was a George Ellis. Hat is in good shape from an infrastructure point of view, even though the felt is looking a bit ugly.
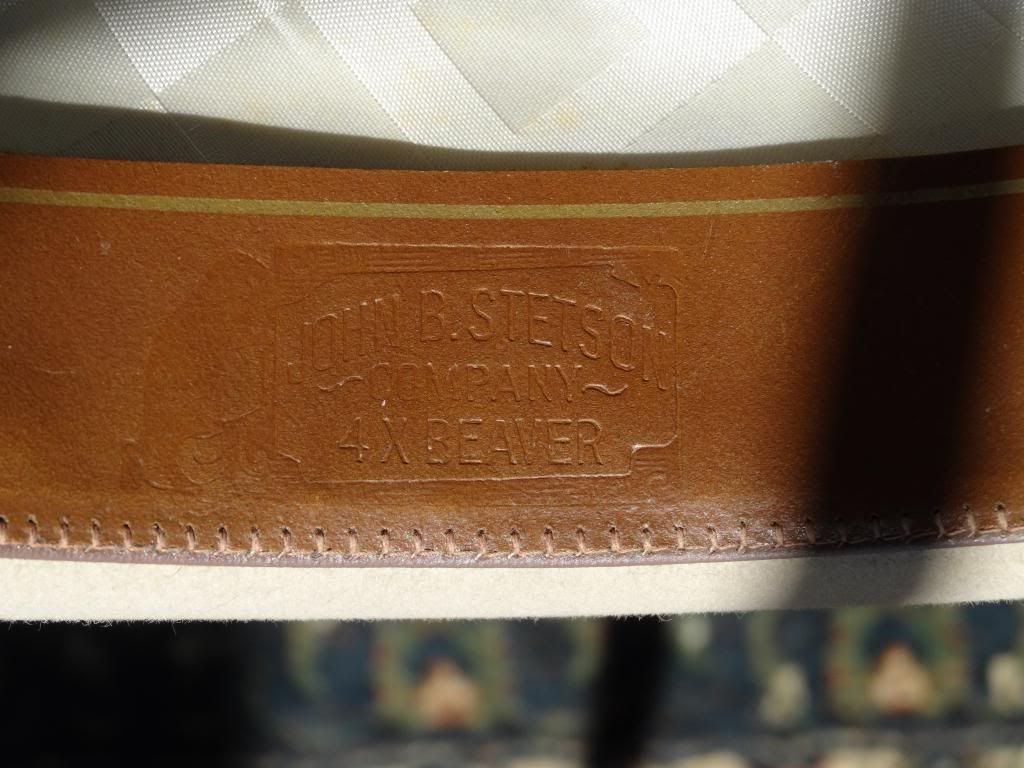
It is a 4X Beaver,

and it is an Open Road (OR).

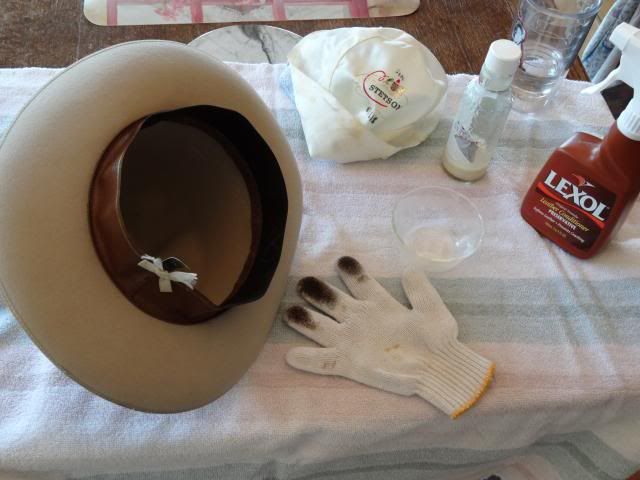
So the project begins this morning (27th, Memorial Day) after a 4-mile run with running buddy Dave Flynn. The 'white glove' Lexol treatment to both sides of the sweatband, pull out the liner which was only lightly glued in. I put the Lexol in a small jar and immerse it in hot water to warm it up a bit before the application. The glove really was white; the sweatband is NASTY.

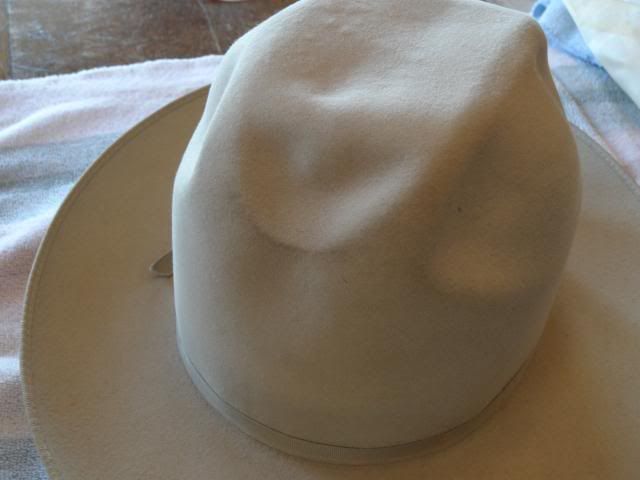
Pushed out the crown - the stains across the crease looking double-ugly now.
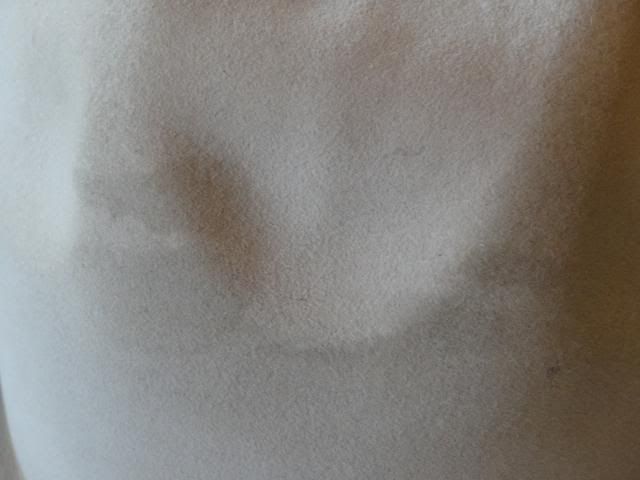
NASTY!!
 

barrowjh

One Too Many
Messages
1,398
Location
Maryville Tennessee

Scout's felt hat cleaner for dark felts; worked over the crown crease thoroughly.

Stains looking muted, but there are stain-circle-lines now.

A jar of Coleman white gas (naptha) should help with this.

Boiled water and took it off the eye and set the jar in it to get warm, got the sweat turned out and freshly saturated with Lexol, ready to take the Naptha to the NASTY.

Pouring hot gas into the crown.

Dripping the gas out through the crown.

Using a paintbrush to get an even distribution of the gas and avoid any more stain-circle-lines.

working with the paintbrush.

Notice how the crease stains look even worse at this stage.

Doing some dabbing with old cotton rags to try an draw out the NASTY.
 

barrowjh

One Too Many
Messages
1,398
Location
Maryville Tennessee

Set aside to dry, still looking NASTY.

After drying the stains are now muted. Did a very light sanding with 400 grit (pouncing) to take off only the worst of the dead felt, removed only a few fur-balls similar to the one on that one patch of sandpaper. I feel the need for STEAM; ready to get steamy with this darling.

With steady steam from a tea kettle and finger work the structural deformation from the prior crease is all but gone, fairly nice looking open crown now.

Start with a DEEP center crease, symmetrical.

Roll out the front first, symmetrical -

Then round out the back, symmetrical.

Pop-up some space for my cranium,

Down in the front with the brim, crown raked back nicely, am I ready to take this darling to work with me tomorrow?

Will she fit in ok?

Will the others be jealous?
 

barrowjh

One Too Many
Messages
1,398
Location
Maryville Tennessee
Rusty! I danced with several gals for an hour or so, they were dressed so nice and I could tell from the way they were tapping their feet that they wanted to dance. Eventually their husbands got off their butts, so me and my better half went back to the hotel Col Alto. There are a couple of pics with her on my facebook page - https://www.facebook.com/home.php?ref=home#!/john.barrow.184/posts/10152870477660634
dog whispering, heck, I was barking big time . . . .
 

barrowjh

One Too Many
Messages
1,398
Location
Maryville Tennessee
Cattus, you spotted the secret formula! Not a great deal of scotch; by the time I got through the refurb to the point of bashing a crease it was after 5, cocktail time. Thanks for the kudos, this was the 1st time trying to photo most of the steps in my 'process' for amateur hat refurbishing. I didn't photo the vacuum cleaner part, vacuuming the dust off was really the very 1st step.

I'm not sure that I will keep this hat; it is fully a size 7 1/8th and I am only half-way between 7 & 7 1/8th, so it fits me a bit loose. However, it has not blown off my head and it makes for a fair 'casual' hat, as I needn't fear to get it dirty. This hat is unusual in that there is relatively little stiffener in the felt. I had another Stetson OR with the same liner that was stiff as cardboard, so I was impressed that this hat was not that way.
 

elveston

Familiar Face
Messages
66
Location
Lake Houston
JB. Just wanted to say thanks for the post. I picked up one of Art's Dove a few months ago and just couldn't get it bashed to suit me. After checking out your post, I got brave and broke out the tea kettle. I managed to get the 6+ inch crown down to a nice 4 1/2 with a fairly good teardrop. Now I'm looking for a really dirty ebay special to try out the rest of your post.
 

elveston

Familiar Face
Messages
66
Location
Lake Houston
photo 20130528_213356.jpg

Getting really brave now. Trying to upload a photo for the first time.
 

elveston

Familiar Face
Messages
66
Location
Lake Houston
20130528_213312.jpg
Another view of the VS Dove. The front of the crown probably needs to be slightly taller. but the teardrop is much better than my first attempt. And, I hope to get better at this photo taking and attaching thing very quickly.
 

barrowjh

One Too Many
Messages
1,398
Location
Maryville Tennessee
Thanks elveston, this is the reason for posting it. I have re-bashed some of my hats several times, it is a learning experience. Each time I think I have it right, but a year or so later I'm looking at the hat and thinking no, I need to re-do that one. Learning to 'roll out' the front was a major step for me. Starting with a deep center crease, placing the thumbs on the outside of the crown about 1/4 of the way back and using the fingers to pull / roll the felt out of the deep crease, leaving the front point slightly lower. This helps put a curve from the front to about 2/3rds back, and that is where you rake it down in the back. I think the crease looks better if the very front of the crease is a little lower rather than trying to maximize height at the point. Hat ownership is more fun after you lose your fear of the hat!!
 

Forum statistics

Threads
107,260
Messages
3,032,405
Members
52,721
Latest member
twiceadaysana
Top