- Messages
- 14,376
- Location
- Small Town Ohio, USA
This is the first of what I hope will be a series of threads offering step-by-step instructions to complete a task we may all find interesting. I encourage you to share knowledge of some task at which you may feel competent.
We're going to starch and iron shirts in the Golden Era way. We want to achieve a level of stiffness unobtainable with spray starch. We need to use a solution of starch and water, submerge the shirts, wring them out, then press them after they have dried to an alarming level of crispness.
You can also use this method for lighter starching. The difference is to use cold, rather than boiling water in the mix, and 2 quarts of it rather than one.
The advantage to starching this way is that the shirt is evenly starched all over. Spray starch gets starch just where you spray it. And spraying, on darker colors, can leave stains where the starch is applied (you see this as dried dots where the fabric is a slightly different color). Sprayed starch can also flake off while pressing.
The disadvantages to doing it this way are that it is time consuming, and is quite hard on your shirts. Even with the gentlest treatment, you have to tug, shake and wrench the daylights out of them. If you want your shirts to last a very long time, don't do this.
I don't do this very often. It's just too much work.
I am not a pro - I can only share my own experiences. Many of you are professionals and all of us no doubt have our own way of ironing clothing. Please share what works for you. Military folks will find my methods lacking - but I don't have to pass a tough inspection.
Disclaimer: We will be working with hot water, hot steam, hot surfaces. I take no responsibility if you burn yourself or scorch and ruin a valuable garment. As always, your mileage may vary.
Let's get started.
As with any project, begin by washing your hands. You don't want to get oils from your hands on just-washed shirts.
We need to find some dry starch; it's the same stuff you use for cooking, in larger boxes. Mine is Argo brand, about $3 for a 1 lb box. We need starch powder, water, a vessel for mixing, in this case a kitchen sink, and something to agitate the solution. You can use a scrupulously clean plastic bucket, if you like, or a big enamel wash basin. I would avoid aluminum as it tends to discolor things.
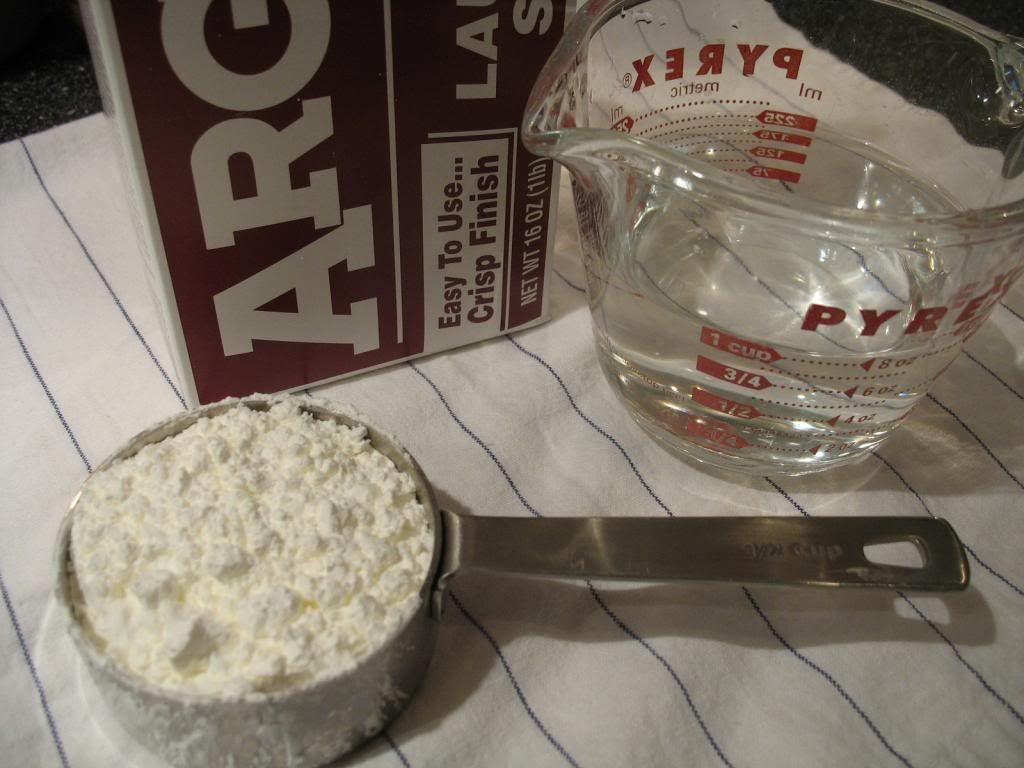
Mix 1/2 Cup starch and 1 Cup cold water.
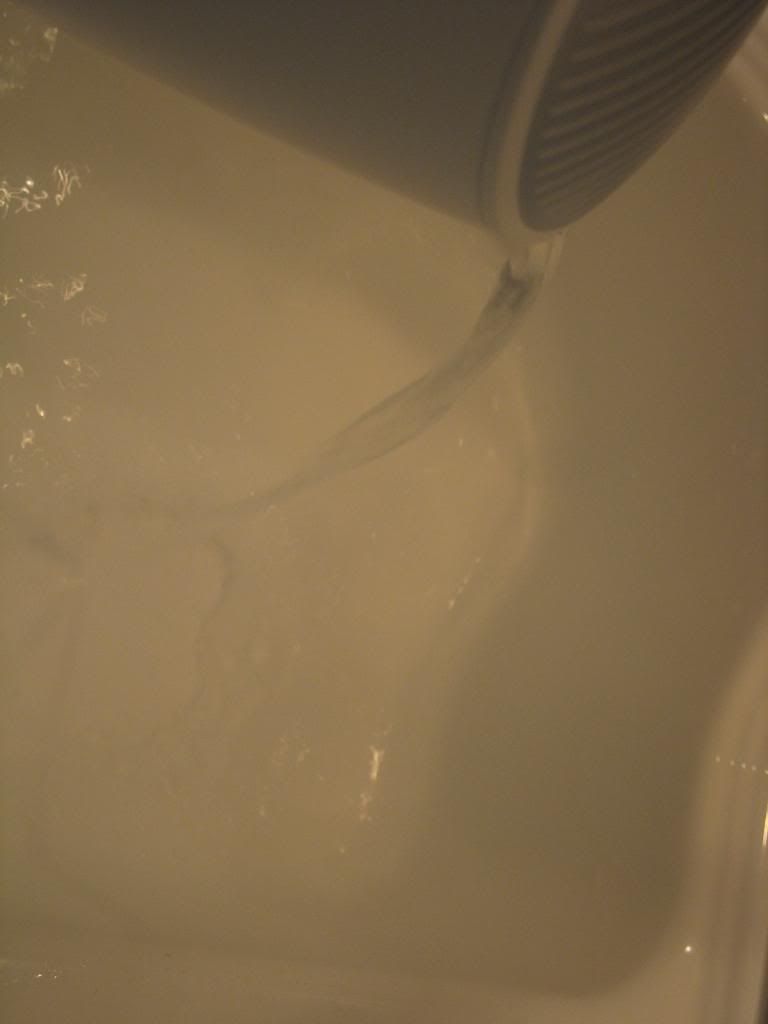
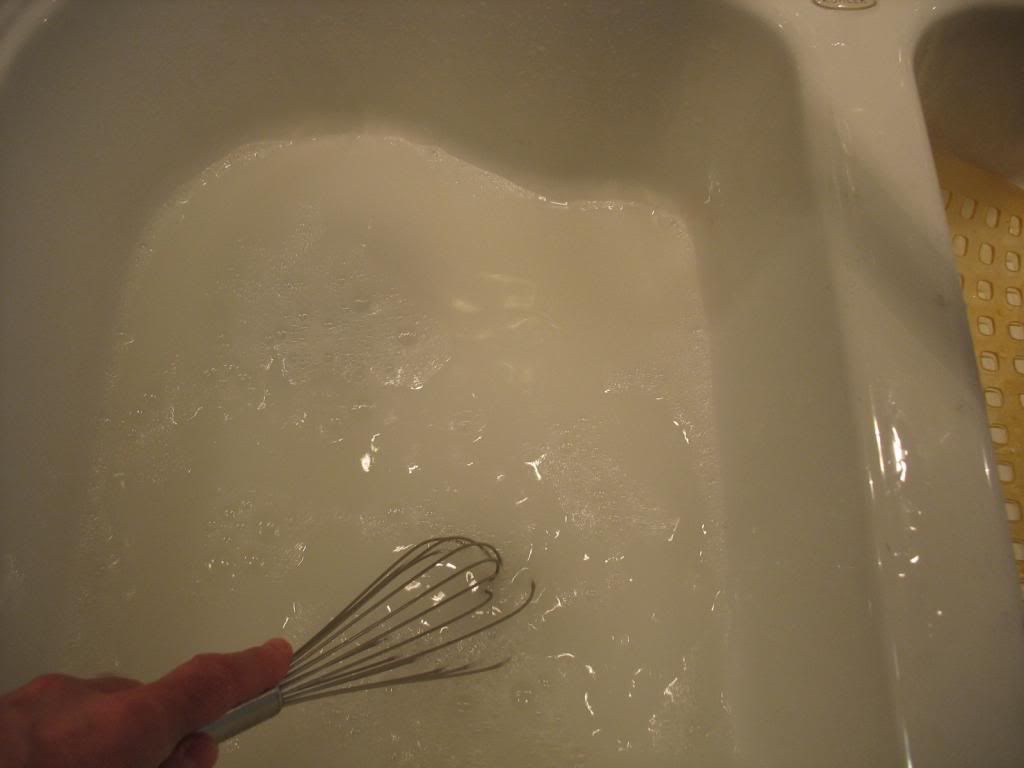
You need something large enough to soak the shirts in solution. I used my kitchen sink, scrubbed completely clean first. Pour in the solution you just made.

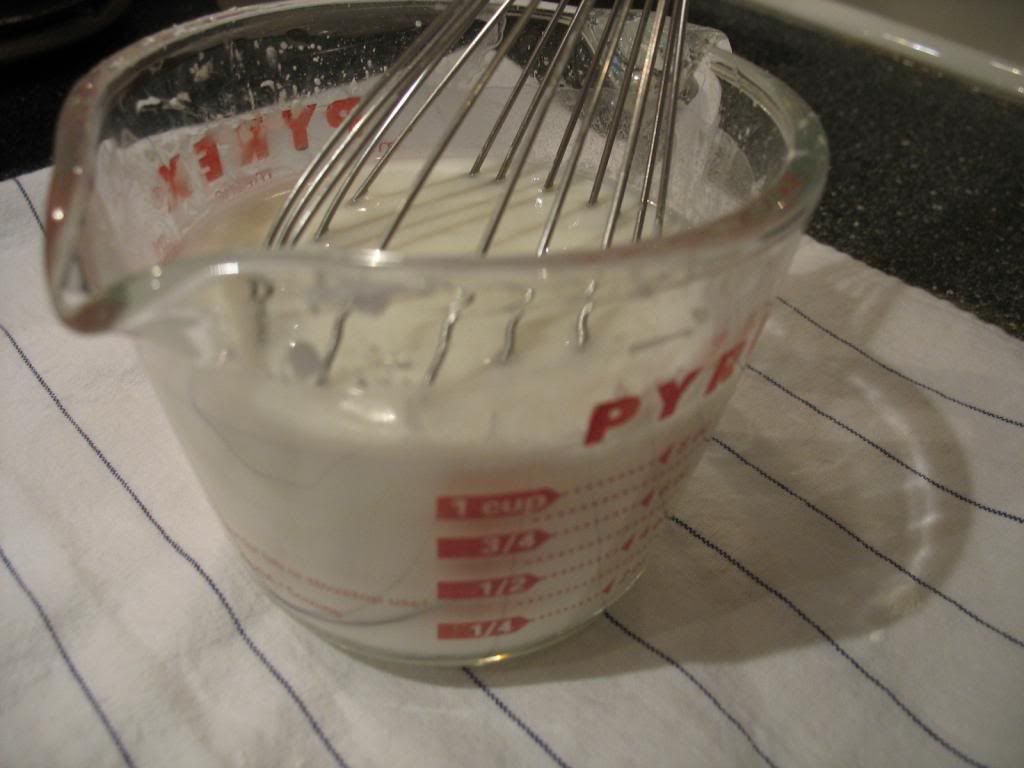
Mix well. Then add 1 qt boiling water and mix carefully.
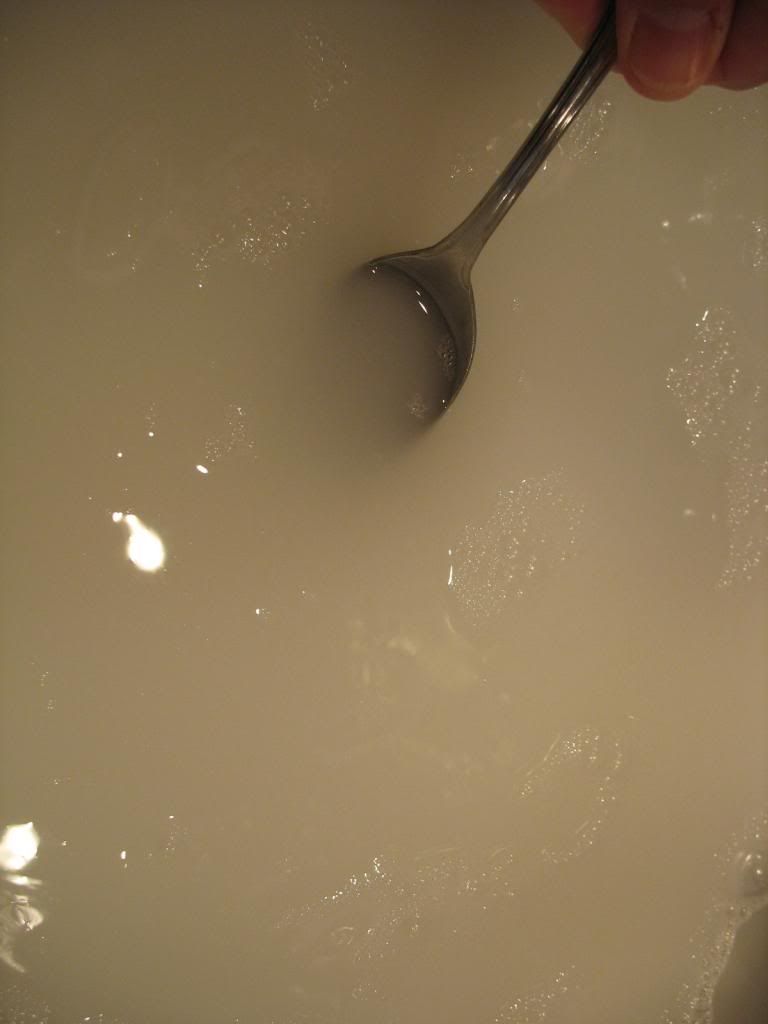
We're looking for a bit of translucency.
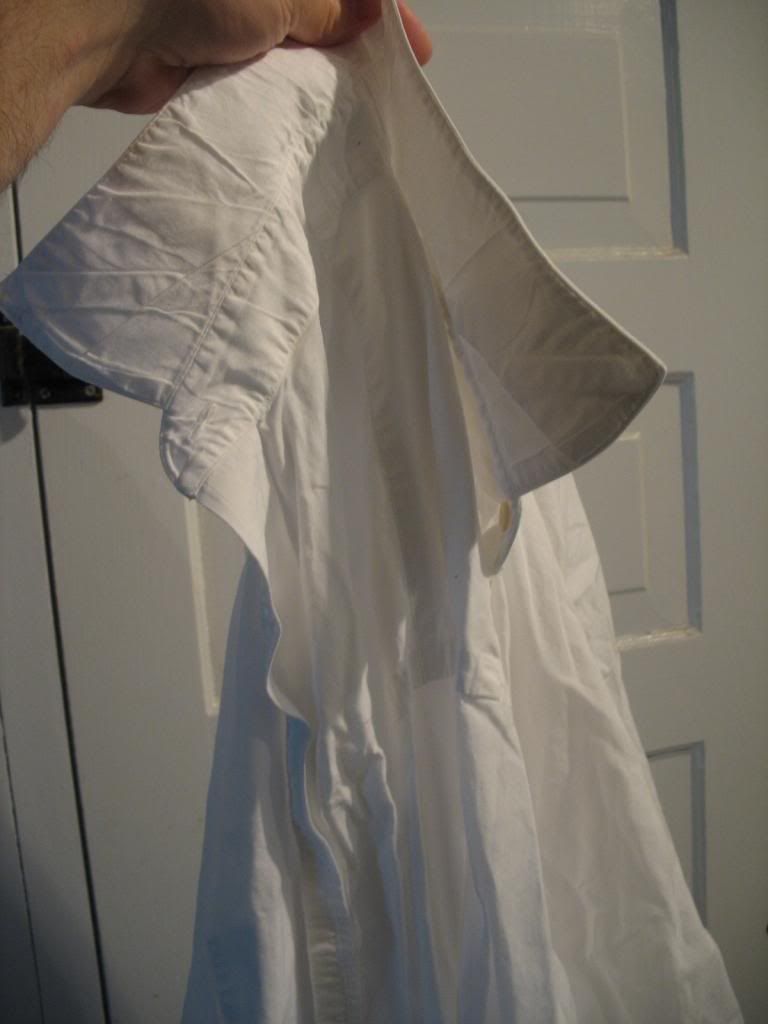
When the starch & water solution has cooled to warm (you can stick your finger in it without burning it), we're ready to add a shirt. Begin with a freshly laundered shirt, with all the buttons undone, collar stays removed.
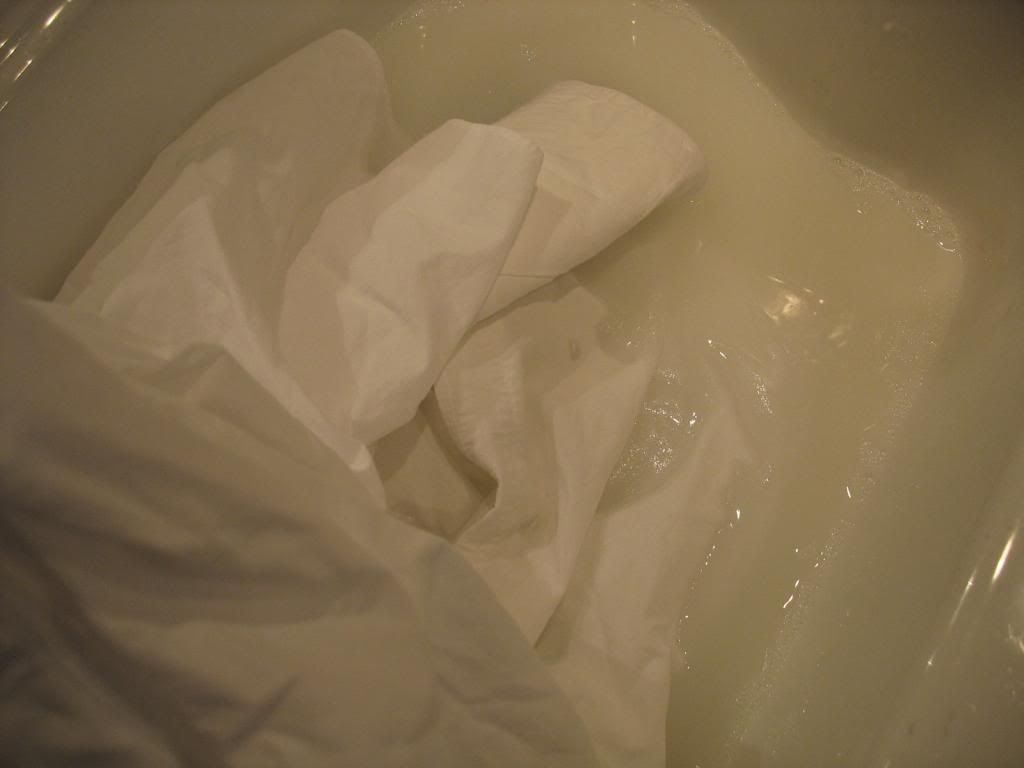
Holding the shirt by the shoulders, slide the shirt tail end into the starching solution.
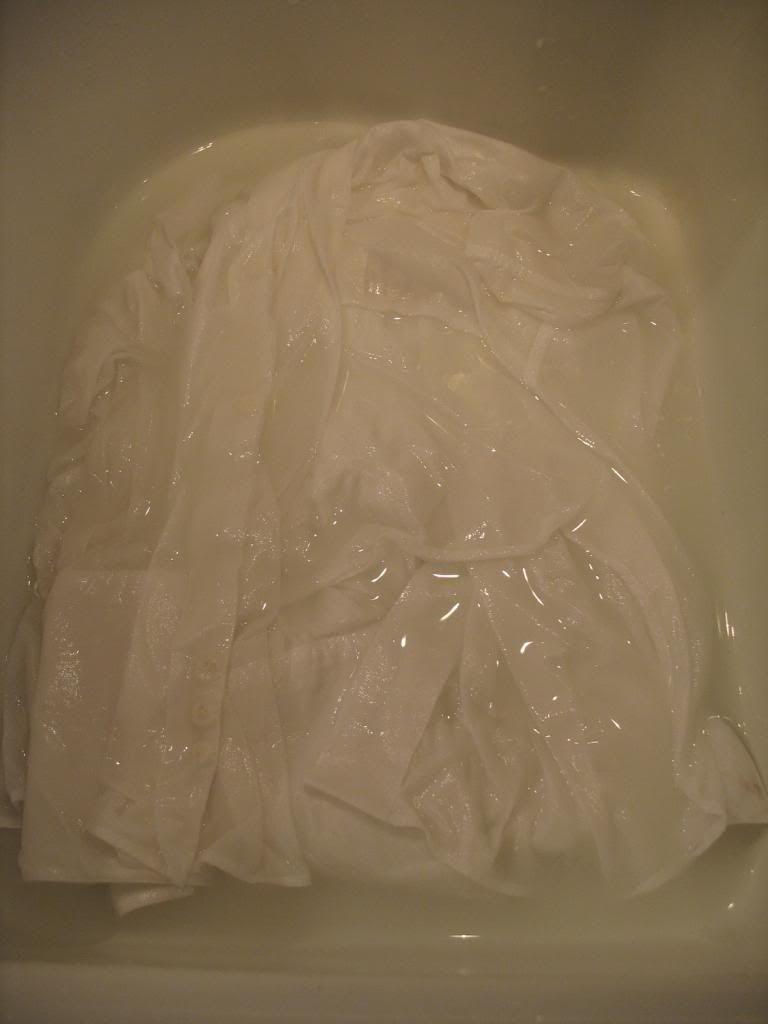
Continue until the entire shirt is submerged. Press out air bubbles and make sure the shirt gets thoroughly soaked.
Next: Wringing out the excess solution.
We're going to starch and iron shirts in the Golden Era way. We want to achieve a level of stiffness unobtainable with spray starch. We need to use a solution of starch and water, submerge the shirts, wring them out, then press them after they have dried to an alarming level of crispness.
You can also use this method for lighter starching. The difference is to use cold, rather than boiling water in the mix, and 2 quarts of it rather than one.
The advantage to starching this way is that the shirt is evenly starched all over. Spray starch gets starch just where you spray it. And spraying, on darker colors, can leave stains where the starch is applied (you see this as dried dots where the fabric is a slightly different color). Sprayed starch can also flake off while pressing.
The disadvantages to doing it this way are that it is time consuming, and is quite hard on your shirts. Even with the gentlest treatment, you have to tug, shake and wrench the daylights out of them. If you want your shirts to last a very long time, don't do this.
I don't do this very often. It's just too much work.
I am not a pro - I can only share my own experiences. Many of you are professionals and all of us no doubt have our own way of ironing clothing. Please share what works for you. Military folks will find my methods lacking - but I don't have to pass a tough inspection.
Disclaimer: We will be working with hot water, hot steam, hot surfaces. I take no responsibility if you burn yourself or scorch and ruin a valuable garment. As always, your mileage may vary.
Let's get started.
As with any project, begin by washing your hands. You don't want to get oils from your hands on just-washed shirts.
We need to find some dry starch; it's the same stuff you use for cooking, in larger boxes. Mine is Argo brand, about $3 for a 1 lb box. We need starch powder, water, a vessel for mixing, in this case a kitchen sink, and something to agitate the solution. You can use a scrupulously clean plastic bucket, if you like, or a big enamel wash basin. I would avoid aluminum as it tends to discolor things.

Mix 1/2 Cup starch and 1 Cup cold water.

You need something large enough to soak the shirts in solution. I used my kitchen sink, scrubbed completely clean first. Pour in the solution you just made.

Mix well. Then add 1 qt boiling water and mix carefully.


We're looking for a bit of translucency.

When the starch & water solution has cooled to warm (you can stick your finger in it without burning it), we're ready to add a shirt. Begin with a freshly laundered shirt, with all the buttons undone, collar stays removed.

Holding the shirt by the shoulders, slide the shirt tail end into the starching solution.

Continue until the entire shirt is submerged. Press out air bubbles and make sure the shirt gets thoroughly soaked.

Next: Wringing out the excess solution.


")


