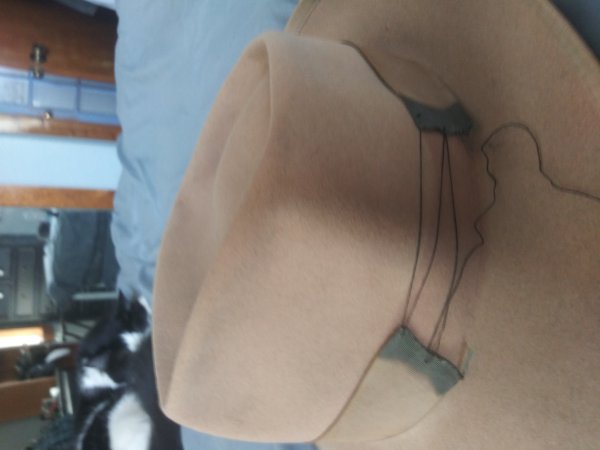
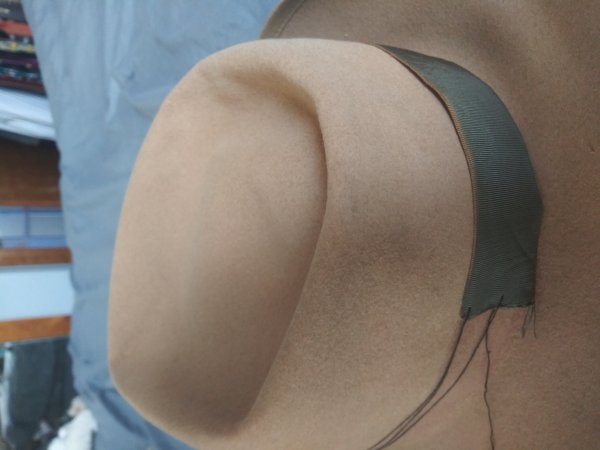
I've had another look at the hat per TJ's request, and it looks like it was actually done with one piece of ribbon & no cording. It was all an optical illusion. My pride is tarnished, but at least my fallibility remains intact.

"Faint hat never won fair lady."
"Faint hat never won fair lady."
Last edited:
") You up to it?
You up to it?