Want to buy or sell something? Check the classifieds
  • The Fedora Lounge is supported in part by commission earning affiliate links sitewide. Please support us by using them. You may learn more here.

Photo Shop: The Hat Photography Tutorial Thread

fluteplayer07

One Too Many
Messages
1,844
Location
Michigan
The idea for this thread has been floating around in my head for a while now. Inspired by the photography greats of the Lounge; D'Guy, Lefty, and now Alan, to name only a few; I think this would be a good resource for all of us less handy with a camera. Hopefully, here we could share tips for taking better pictures of hats: Do you have a special trick for capturing red tones that you wouldn't mind sharing? Have a question about how to find that specific setting on your camera?

For the more photo-adept: Accessories to enhance your pictures? Lenses, mounts, lights, and other such goodies to take note of? A special setting to prevent a greenish tinge from appearing on pictures of your ivory hat?

Of course, for those of you who are photographers by trade, this doesn't mean you need to spill all your secrets to the masses. But I think this would be a handy resource for all, so we can see each others' hats in all their fur-felted glory.

Cheers,
 

Lefty

I'll Lock Up
Messages
8,639
Location
O-HI-O
I appreciate the sentiment, but I don't do anything special to take photos of my hats. Almost all of my photos are taken by natural light - outside, whenever possible. Nearly every photo I post is right out of the camera, onto photobucket, and pasted here. I have cropped a few photos, but have never adjusted color/tint/brightness for a hat photo, and only once or twice on a What Hat Are You Wearing Photo, when I hit "autofix" in photobucket. Some people enjoy and are skilled with flash, lights, and manipulation, and can make it work very well. I'm a quick and easy kind of person.

If you want colors to appear true, get more colors in the photo. Don't just shoot an ivory hat, shoot it by a green plant.

For details, you can set your camera to the macro setting, usually designated by a little flower on the dial or display. This puts a strong center focus on the shot, and is great for that close bow or liner shot. You can forgo this by simply backing away a bit further from the hat, and zooming in on what you want to shoot.

Lastly, I take a lot of photos, whatever I'm doing. I used to agonize with b&w film. The expense of b&w film and processing made me take better care of what I shot, how I shot it, and how many shots I took. While I'm happy that this helped me develop a better sense of what I like, and how to get it, I love the ability to shoot 50 photos of one hat and delete 48 of them. It doesn't take long, I just move around the hat or move it around me, snapping as I go.
 
Last edited:

fluteplayer07

One Too Many
Messages
1,844
Location
Michigan
I have a setup that I've improvised in my hallway... It's the largest expanse of white wall in my home. I turn on my bathroom light (the bathroom is right behind me - I shoot pictures kneeling on the floor of my bathroom facing out from the door), the hallway light, and my bedroom light. There's a small wood stand I set against the wall in this impromptu light-box. I put a hatbox on that for aesthetics, and then the hat. My camera is a cheap Kodak with preset options. An Easyshare M863, says the bottom of it.

Alan has already given me some valuable tips; I believe my pictures have improved greatly thanks to him.

I'll try taking some shots outside. But usually when I take a picture against something other than a plain background, it looks too busy. But I've also seen some great pictures where the environment seems to enhance the subject. I can never seem to get that. When I do it, it looks like a picture of a background, and I'm playing 'Where's Waldo' trying to find the hat.
 

Viktor

One of the Regulars
Messages
238
Location
Land of the Rising Sun
Let's call this hat portraits or stills, not for the snap shot and I'm done. It's cool to get creative taking images of your lovely collection.

There are no magic tricks just basic 101 stuff, here are a few:

1. Tripod
2. Use camera custom balance with shooting in mixed lighting conditions (18% gray or white card/paper).
3. No flash - bounce light to fill dark shadows using a white board, sheet, paper or mirror etc....
3. manual mode - set your f stop at 8 and adjust your shutter speed according to preferred look (digital LCD).
4. Self timer or cable release eliminates camera shake.

Results

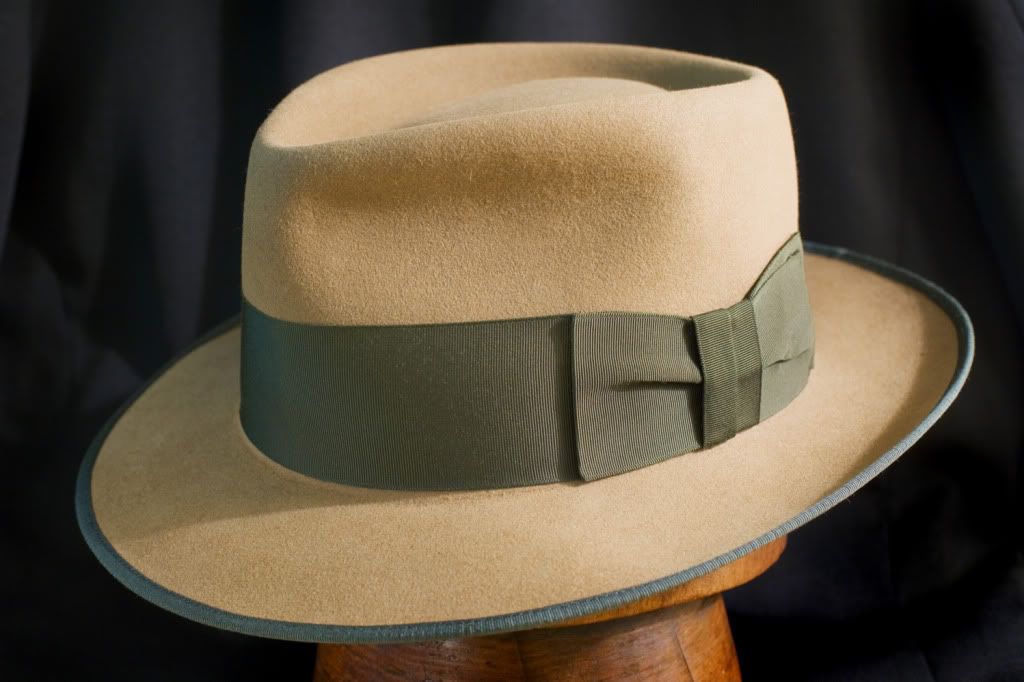
Champ.jpg


Black suit jacket used for backdrop
 
Last edited:

Pompidou

One Too Many
Messages
1,242
Location
Plainfield, CT
Investing in a monitor color calibrator will prove invaluable in ensuring that all your time spent matching the hat color you see on your screen to the hat color you see in your hand isn't wasted. Monitors fade over time. Color settings change. Brightness, contrast, saturation - it can be a real challenge getting them all accurate to real life. I'd say, if you don't take steps to calibrate your monitor, avoid adjusting colors in Photoshop. Your camera probably does a good enough job on that front. For all you know, you're just making the photo worse. I learned this the hard way when I tried to make a website with a very old computer and monitor and my monitor was so faded, unknown to me. When I got done making the screen look good on my computer, little did I know it was near pitch black for everyone else.
 

Aureliano

I'll Lock Up
Messages
4,753
Location
Macondo.
1. Tripod.
2. Seamless white paper for background.
3. Two continous incandescent lights with diffuser/umbrellas.
4. Manual camera settings: 80 ISO, F 3.5, +1 compensation.
5. Result:
6-1.jpg


IMG_0723.jpg
 
Messages
15,015
Location
Buffalo, NY
Good thoughts above... Here is my short list of basic tips for shooting the hat on your head:

1. Use a camera... avoid the cell phone. Even a cheap digital camera will have a better lens than a cell phone. It's all about the lens.

2. Turn off the flash. The flash is not your friend. Turn on the lights in the room, or shoot outside.

3. Use the self timer on your camera. Put it on a shelf or any surface that can support it. You don't need a tripod. This will allow you to step away further than arm's length and minimize the inevitable foreshortening distortion that comes from the fixed wide angle lens on your point and shoot digital camera (ever notice how those stingy brims didn't look stingy in the auction photos?!)

4. Set the ISO manually if you can - choose a low number to minimize noise. You won't have camera shake when using the self timer... just remember to be still when the shutter releases.

5. Shoot lots of pictures and evaluate for composition and background. Try to avoid distracting elements directly behind you.

6. If you have software to work on the pictures after taking, remember to resize the version you will use for sharing... 72dpi and a length of 12-14" works well. FL will downsize your picture to fit, but no reason to start with a 10mb file. Your email recipients will appreciate a sensible use of their bandwidth!

hope these help a little!
 

EggHead

Practically Family
Messages
858
Location
San Francisco, CA
Some things I do:
Avoid colored walls or large colored items near the hat - hat will take some of that color.
Flash or direct sunlight distorts color too.
Cloudy days outside are good.
For software - Macs have iPhoto (free), for Windows download Picasa (free), it's Googles software. They both do about 90% of what other not so free sofware will do.

If you plan to buy a dslr, buy cheap body, but invest in good lenses. Lenses stay, bodies get replaced every 5 years, and as Alan noted, a good lens is what takes a good picture. Body is just a life support system for the lens :)
 
Last edited:

rlk

I'll Lock Up
Messages
6,100
Location
Evanston, IL
Accurate color--single type of light source--match camera settings to that type. Its not the source itself. Mixed light sources can never be made neutral. Flash will be your most accurate color if you set your camera properly--results may be ugly in texture and dull but color will be correct--it is the only consistent color temperature source so the most objective. Incandescent and daylight are highly variable but you can get reasonable with camera set appropriately. The larger the light source the softer the contrast and less texture, smaller more contrast--harder shadows.

A cheap camera set appropriately, held still and focused correctly(within the lens's range) will make a perfectly decent image for online use.
 
Last edited:

suitedcboy

One Too Many
Messages
1,346
Location
Fort Worth Texas or thereabouts
"6. If you have software to work on the pictures after taking, remember to resize the version you will use for sharing... 72dpi and a length of 12-14" works well. FL will downsize your picture to fit, but no reason to start with a 10mb file. Your email recipients will appreciate a sensible use of their bandwidth!"

All great ideas but I think this one is worth repeating.
If I want to blow up a photo to make a mural to cover the side of a building I'll send a PM and ask for the 12 megapixel version.
I know many of you are in the same boat with me that your internet speed varies with user traffic. There are some photos posted on here that stop me from viewing a particular thread when those large file pics are on the page set.
 

bowlerman

I'll Lock Up
Messages
6,292
Location
South Dakota
"6. If you have software to work on the pictures after taking, remember to resize the version you will use for sharing... 72dpi and a length of 12-14" works well. FL will downsize your picture to fit, but no reason to start with a 10mb file. Your email recipients will appreciate a sensible use of their bandwidth!"
How does this translate to pixel dimensions? I'm not sure I know how to adjust by inches, and I don't know what dpi is. Thanks.
 
Messages
15,015
Location
Buffalo, NY
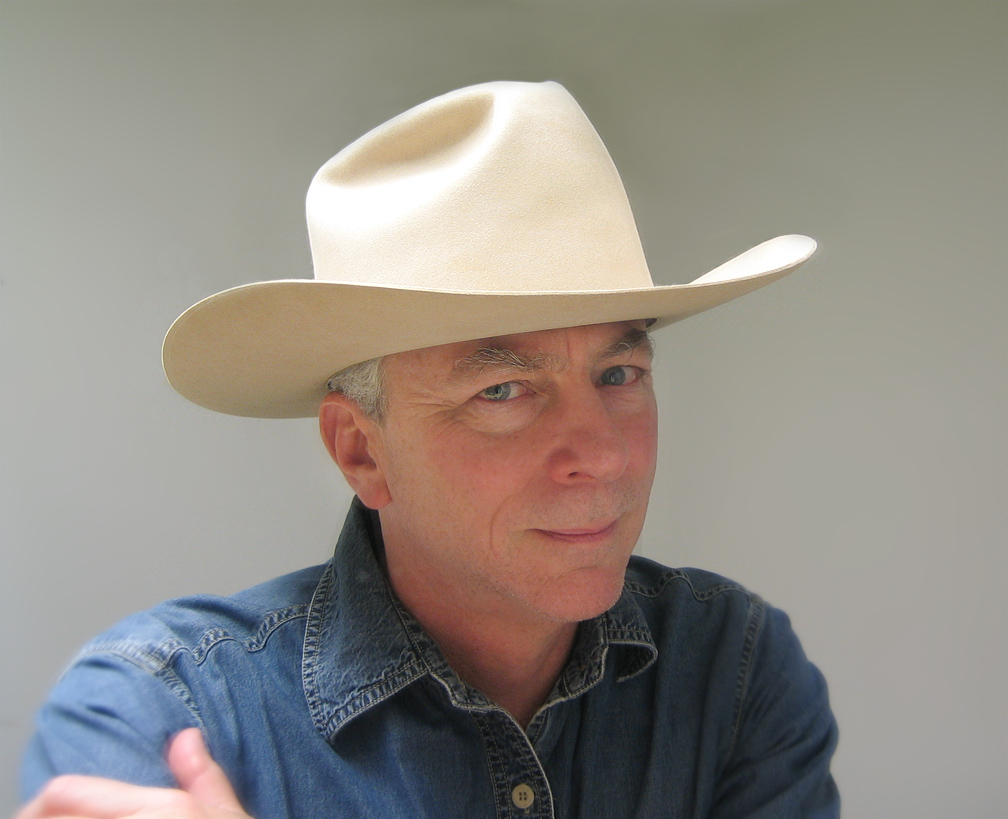
72 dots per inch (dpi) is a term that comes from printing... 72 pixels per inch (ppi) is a standard screen resolution for monitors. The image file below measures 1008 x 819 pixels which translates to 14 x 11 3/8" at a resolution of 72 ppi. I try to keep my image file sizes below 300k using a high quality jpeg compression. They could easily be half that size or less using good quality compression with little or no noticeable compromise in image quality.

hope that helps!

062211_1.jpg
 
Last edited:

HatsEnough

Banned
Messages
1,142
Location
Cincinnati, Ohio
I find backgrounds to be very important. You need a background that won't mix in with the hat. Hello to those ebay dolts that take pictures of a black or dark brown hat against a black background! Idiots.
 

suitedcboy

One Too Many
Messages
1,346
Location
Fort Worth Texas or thereabouts
For picture sizing many of the resizers that are free or are included on your PC will just have small medium, and large as choices.
I will select Medium and when it is done I right click on the resized pic file and see what size it is. 150 Kb more or less is a good picture but ships over the 'net quickly. I have a cell phone with a 12 Mp camera in it and its files are 1 Mb with no resizing. Recent digital cameras can go double that if the camer is set to "high Quality" or whatever terminology they use to describe the best quality picture the camera takes, The high quality setting is usually the new out of the box default on most I've used.
 

DJH

I'll Lock Up
Messages
6,352
Location
Ft Worth, TX
For the hat images I post, I use Nikon's NEF format and always take a shot with a WhiBal white balance card in the frame. This lets me get the colour looking good in my conversion software (in my case usually CaptureOne, but sometimes Lightroom).

I don't use any flash, just the light in the room.

For size, I re-size the image to make the longest side 640 pixels. This seems to fit nicely in the space on the forum. I upload the images to my SmugMug account and link to them from there.

D333850-L.jpg
 

T Rick

Practically Family
Messages
934
Location
Metro Detroit
For those wanting a basic, simple to use photo-resizer (FREE), I'd suggest PhotoRazor. You can choose the files, set the maximum size in pixels (I've been using 600, probably should use 640) and it will save them to a default new file in the same folder called "Small Pictures". You also have the option to set image quality, I usually let it go wherever it lands on default, which is generally about 80% of the slider, or fairly high quality, yet pic size is usually around 200KB +/-. Makes for an easy opening page, and the image quality is just fine.
 

EggHead

Practically Family
Messages
858
Location
San Francisco, CA
There is another way to resize. I use a site tinypic.com to upload/store photos to internet.
It has resize option when you upload a file to it. I use "Message Board" 640x480.
 

Forum statistics

Threads
107,288
Messages
3,033,111
Members
52,748
Latest member
R_P_Meldner
Top