PoohBang
Suspended
- Messages
- 781
- Location
- backside of many
^ great job on that. I love the sides to that appliance. Does it have a temp control or is it one size fits all....
There were some other little problems, like two burned tubes and with the speaker... But everything is OK now.
")
Hey, I have a bunch of old projects and such that I've done that I could add in. Here is my breakfaster that I refinished and cleaned up. I wanted to clean it up, polish it, and be able to actually cook with it if I wanted to.
How it started:


Started off by taking the whole thing apart. I needed to get inside it and clean it up. Four long bolts hold the whole assembly together.


I didn't take any pictures of the sanding and polishing, but thats all I did. I cleaned and polished for a few hours with sandpaper and steel wool. Since basically the whole assembly is aluminum there was a lot to go through, but it wasn't like polishing steel. Much easier! The ceramic heating plate on the top (the big white square) was cracked, but the wire running through it along with support from the body held it in place without any issues. I washed all of the pieces in the sink with dish soap to be able to place food on it, then started reassembling it.
Here it is after the work:


It works great! This little bugger gets hot in a hurry and stays hot. Its so simple and over built that I don't think it will ever die. Heck, its been around for 75 years already and still works like a champ. When was the last time you had a modern toaster that lasted 10 years?
This thread if fun, I'll probably post another thing or two as I find pictures and remember the projects.
oh my goodness, I have never seen anything like that; it's beautiful! You did a super job on it. I am off to Google, is it officially called a 'Breakfaster'?


Great thread.
I have posted this before in the radio's thread, but it is the very best restoration I ever made.
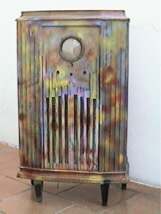
This is a Fairbanks Morse radio from 1935/36.
The way it was:
Parts of wood were replaced by plastic (as the top). Several colors were aplied until it get the "rainbow colors". They put this because it appeared in a rock video clip. And they turned it on because the dial lights when filming. The power transformer heated to much, and almost carbonized. I had to get a new one, impossible to rewire the old one. My greatest trouble was to find the knobs. I had no clue about how the original would look, so I got those I think near the original shape.
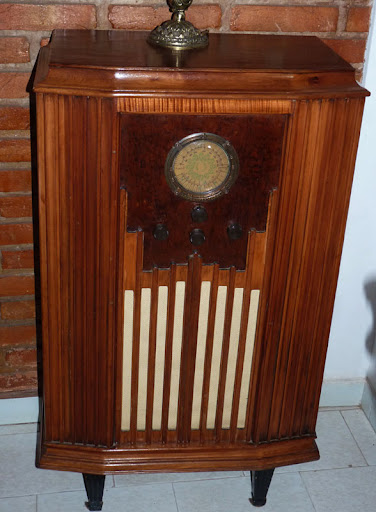
There were some other little problems, like two burned tubes and with the speaker... But everything is OK now.
And here she is, running like a top!
Got the heater working with the fan, it comes on very quickly now and has plenty of power to run both. This thing is a lot quieter than I expected, its pretty silent. So far, my house hasn't burned down. The heater isn't all that hot, but as you can see the wires are glowing red so I can't expect much more from that. Just old technology.
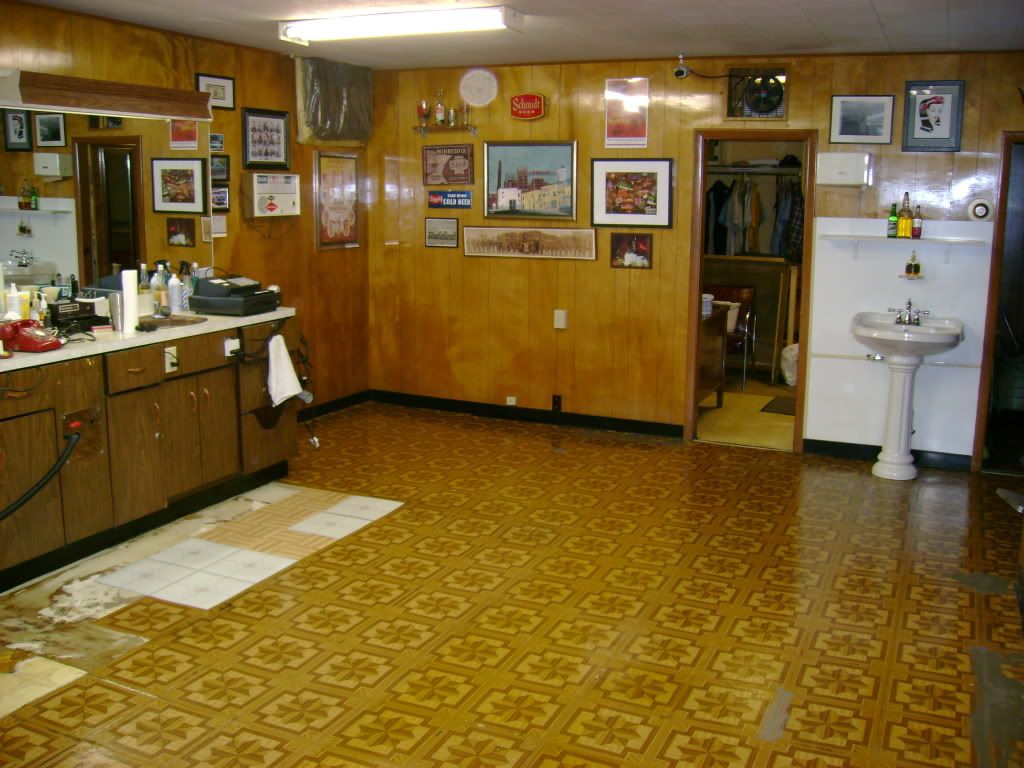

OK this was our weekend project floor remodel at my husbands Barbershop. Sorry if there was a better thread to put this in but this seemed appropriate.
this was the floor before.
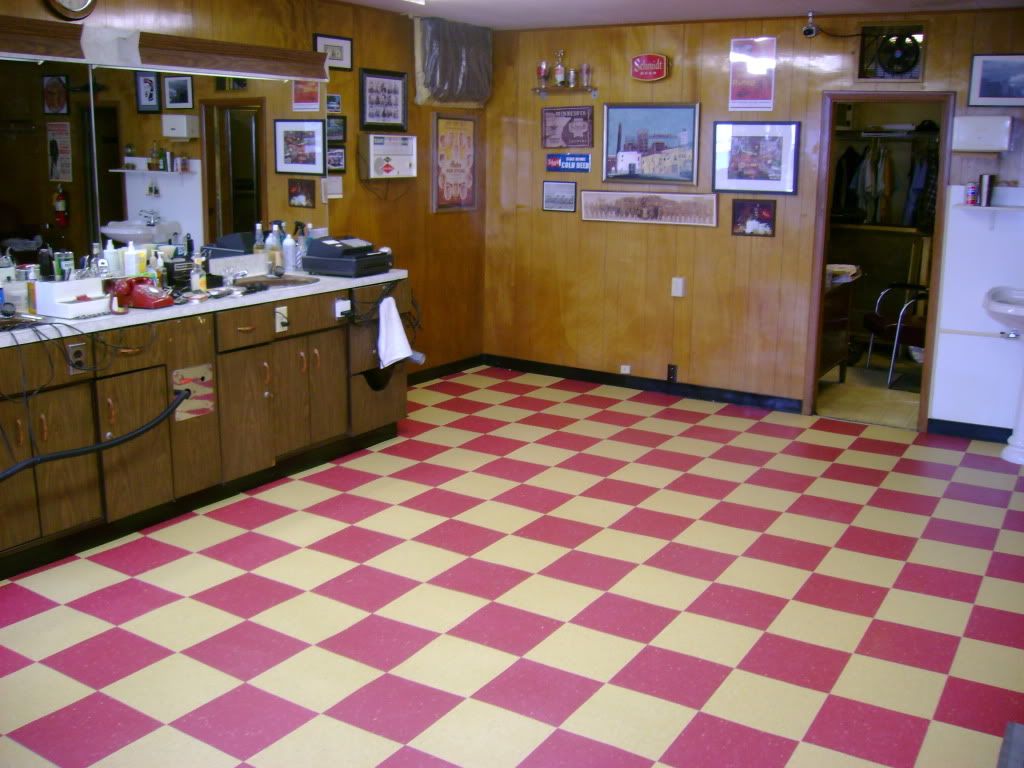
This is the finished floor.
And here it is with the furniture ready for buisness.
OK this was our weekend project floor remodel at my husbands Barbershop. Sorry if there was a better thread to put this in but this seemed appropriate.
this was the floor before.
This is the finished floor.
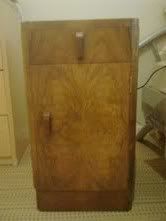
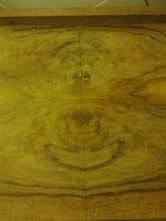
Miss G, here in the USA there is a wood refinishing kit called Homer Formsby that would provide all you need to restore those pieces. Perhaps Ireland has something similar. A kit would give you the step by step directions to produce a fine piece of furniture.