- Messages
- 11,324
- Location
- vancouver, canada
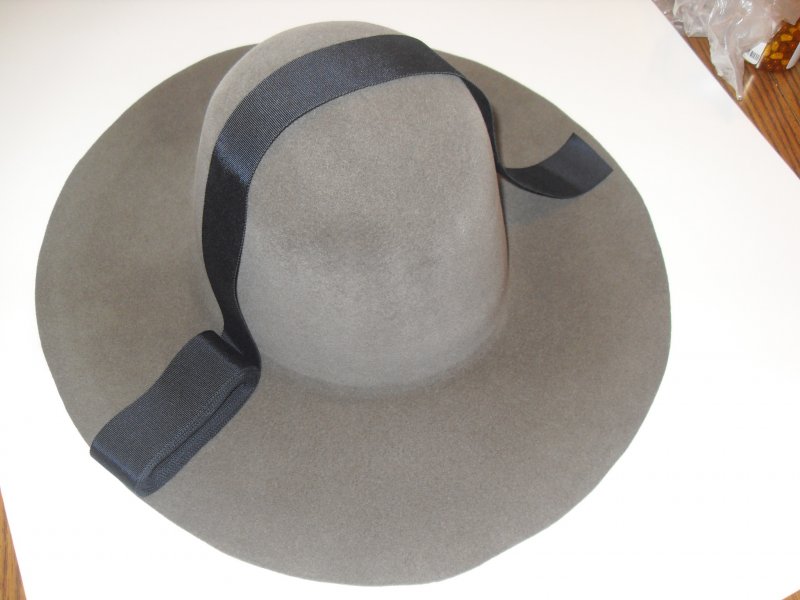
I made my own tollicker......crude but it works.Well, I purchased some Revlon Hair dye or maybe Hare dye since the fur felt is 100% rabbit, this time I went with a dark auburn color. I followed the instructions, except I added a equal amount of water, mixed everything up, then applied the dye using a paint brush, then I followed the instructions for the amount of time to leave the dye coated hat to soak and that was my mistake, wait time was only 30 minutes. I rinsed the dye out of the hat and put the hat back on the block to dry. The color either didn't take or it just slightly darkened the hat, so much that I can't even see a difference. I guess that I will try another dry in 2 weeks time.
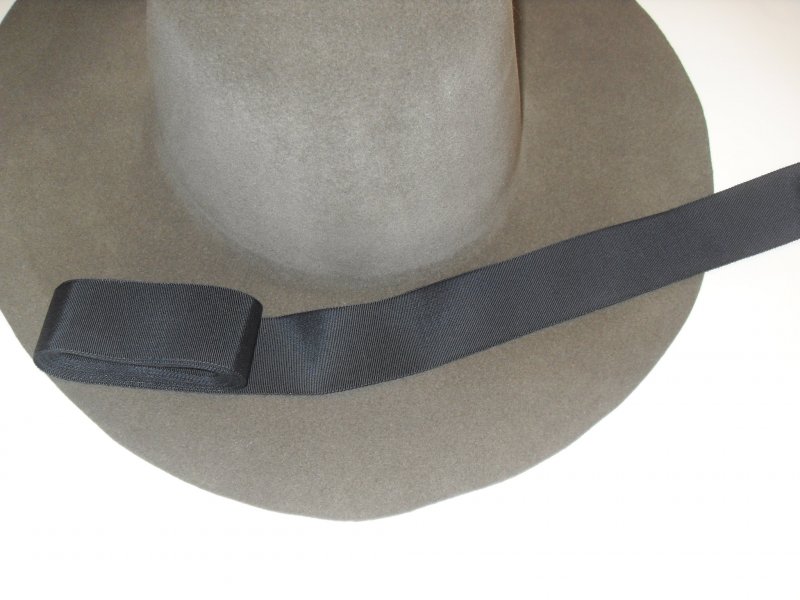
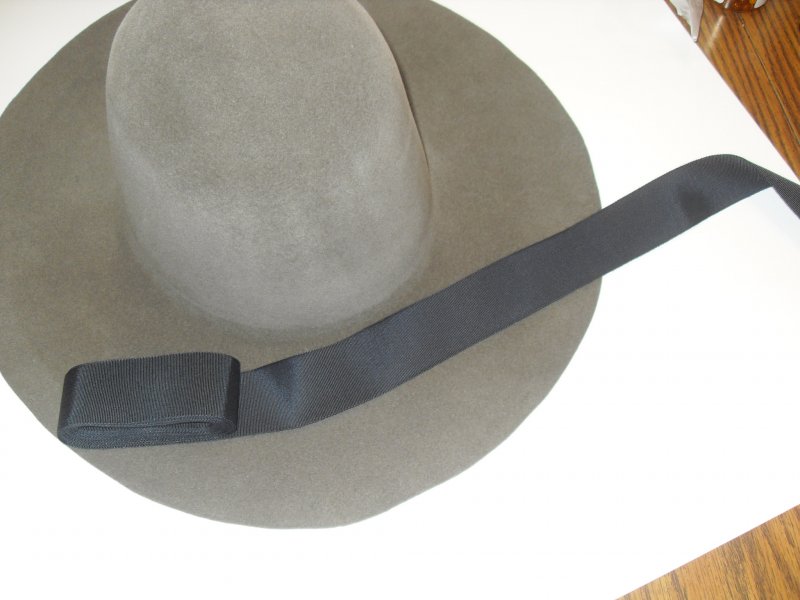
This is the result of the second dye work. I did manage to get the wrinkles out, I am using a different method of blocking my hat felts after ironing the brim out nice and flat. I have been using a blocking spring and blocking cord when I put the hat body on the block, and I am thinking that maybe I need to buy a Tolliker, maybe using steam in combo with a Tolliker, setting the brim break maybe just a bit easier to do. Anyone have any suggestions about making a brim break?
View attachment 417829
View attachment 417831


")