I would like to make a custom shaped block that I can use for a number of my hats, namely my Akubra, so tha tI may be able to get more of the reverse taper that I'm into.
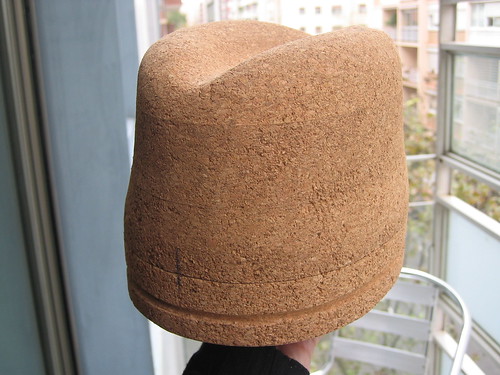
Any recommendations? I made a plaster cast of the inside of my Akubra and am using that a little bit, but...it's a copy, not a custom block.
Any recommendations? I made a plaster cast of the inside of my Akubra and am using that a little bit, but...it's a copy, not a custom block.