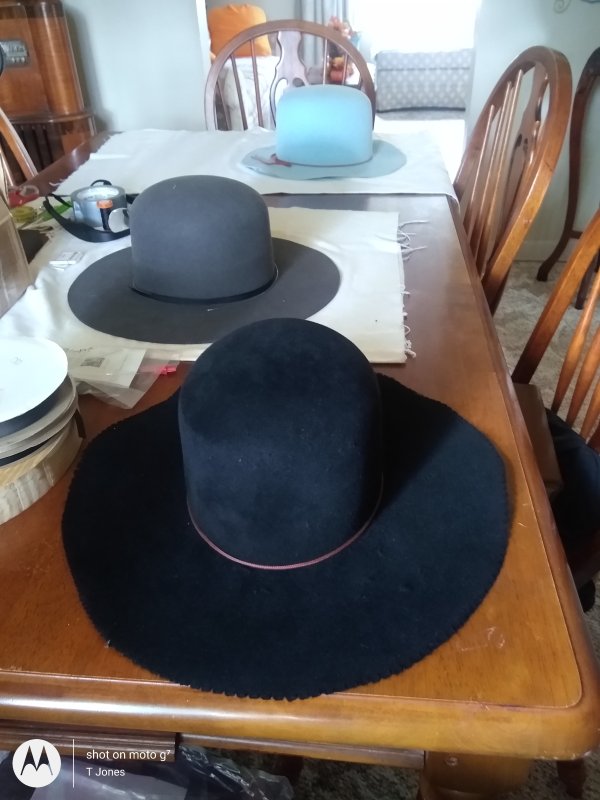
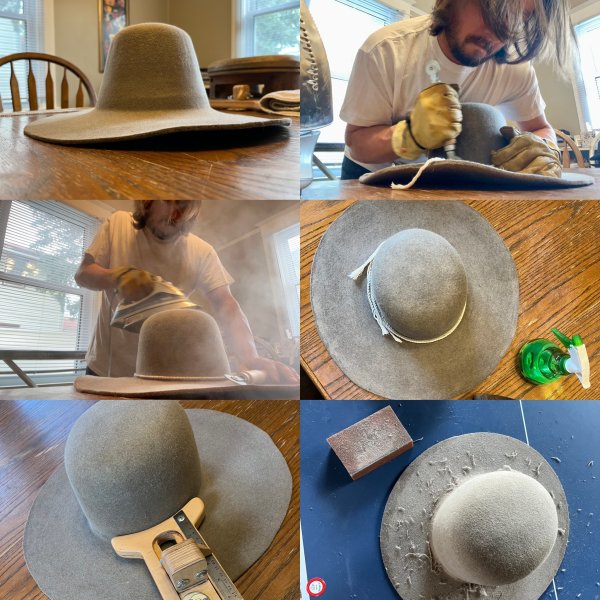
I've been working on a custom order - Sunrise Nutria in the colour Moss.. I'm really amazed by this felt.
Some of their colours have a rougher finish but this is plush, velvety, suede like. And vintage stiffness.. some of their other colours are more stiff. Odd.
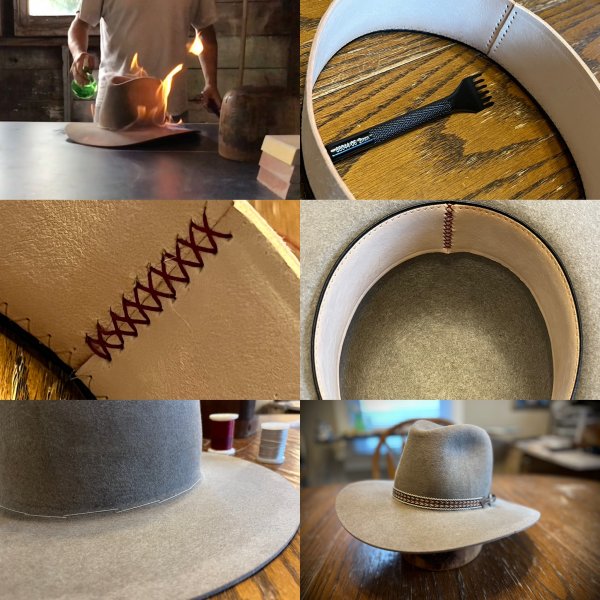
I was wondering if anyone has tips for brim binding - It stresses me out significantly and I'm looking for ways to automate it using my sewing machine! I know it's possible but I was wondering if a hatter could point me in the right direction!
Cheers.

Some of their colours have a rougher finish but this is plush, velvety, suede like. And vintage stiffness.. some of their other colours are more stiff. Odd.
I was wondering if anyone has tips for brim binding - It stresses me out significantly and I'm looking for ways to automate it using my sewing machine! I know it's possible but I was wondering if a hatter could point me in the right direction!
Cheers.

")