Richard Allen Crook
New in Town
- Messages
- 19
- Location
- Dallas
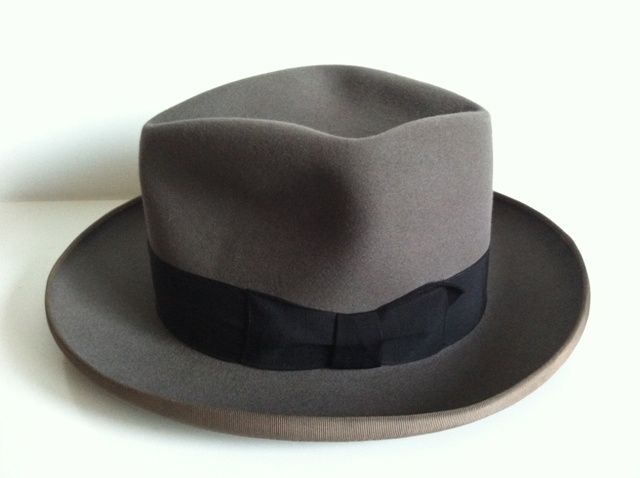
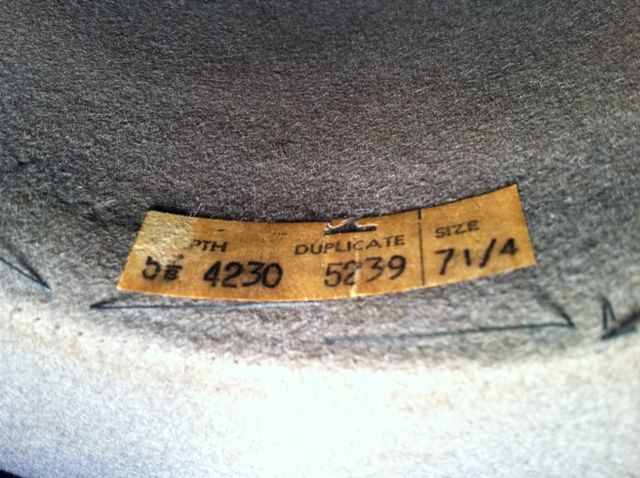
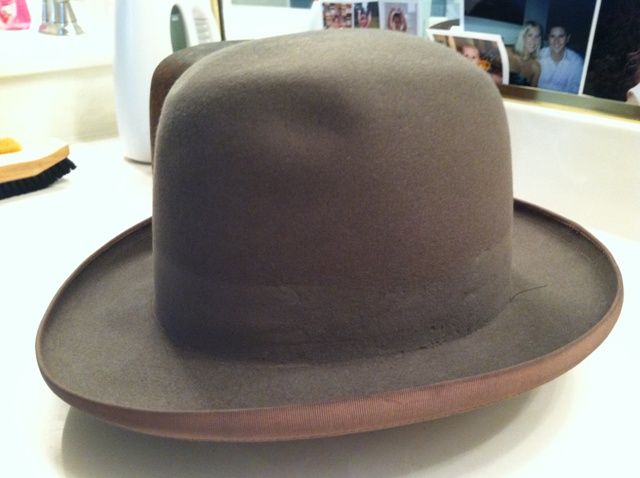
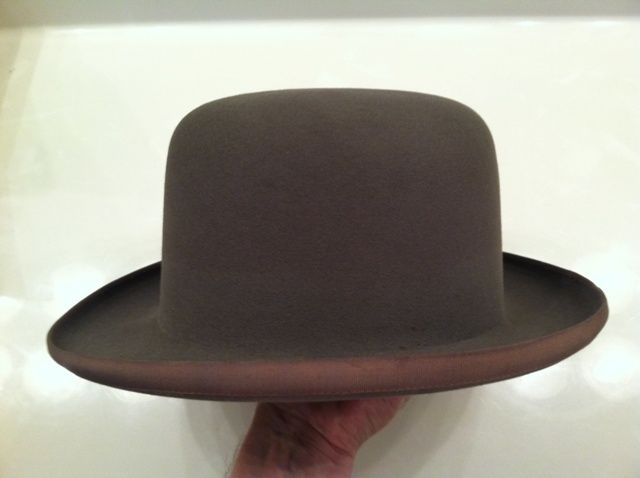
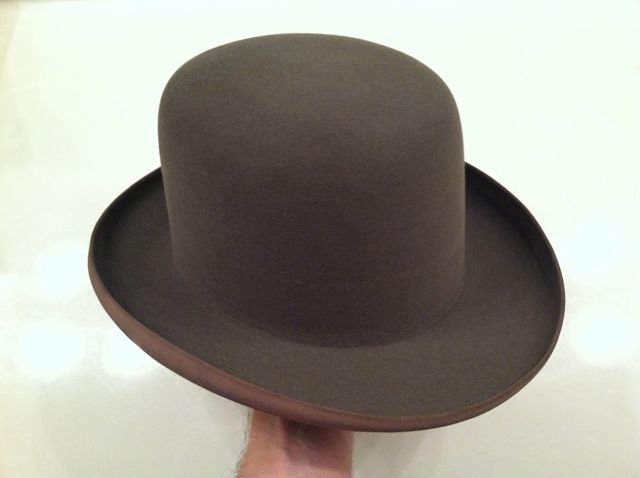
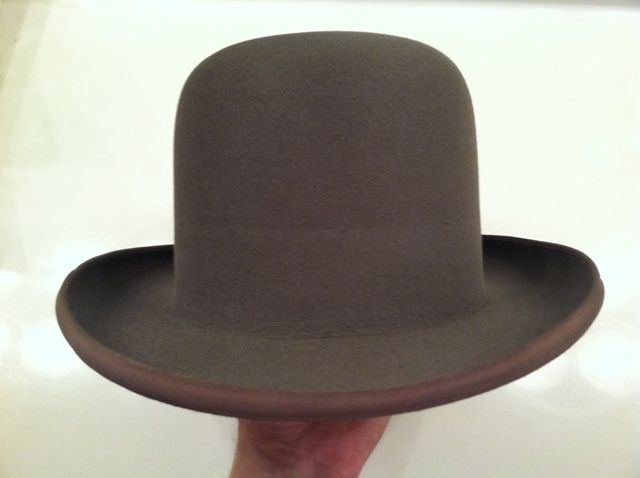
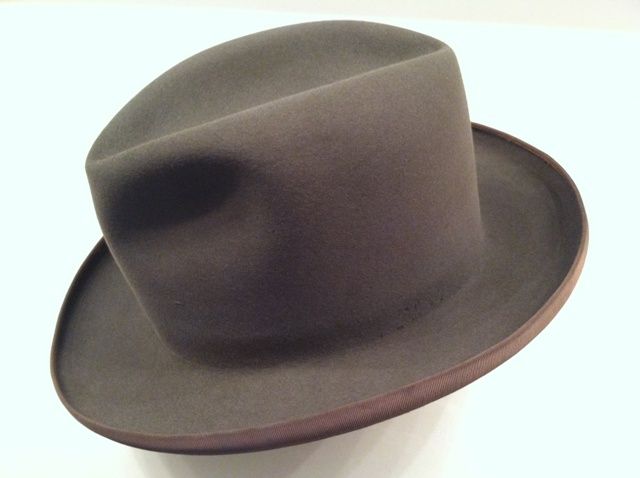
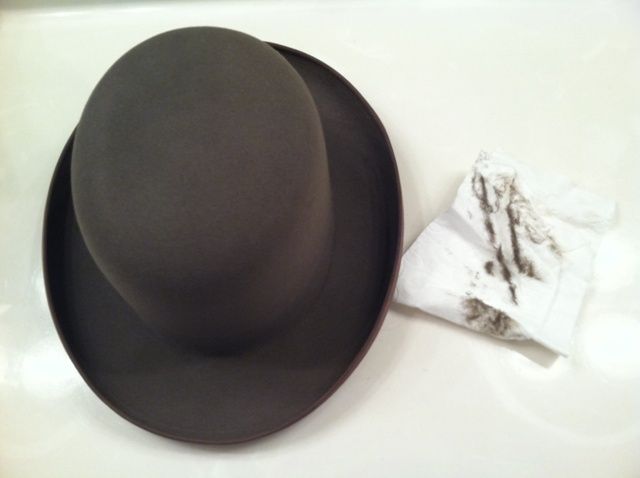
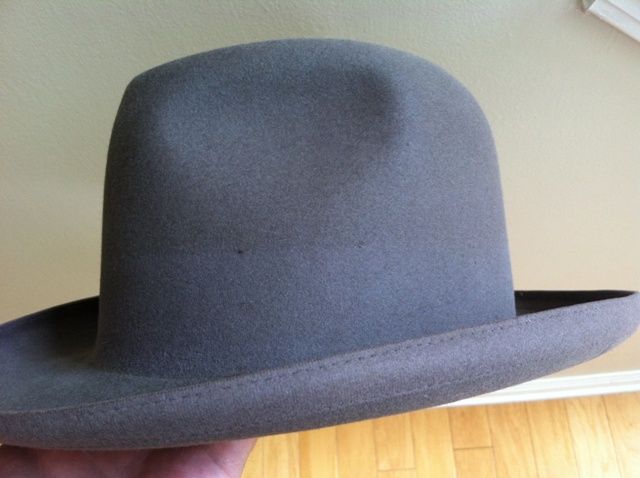
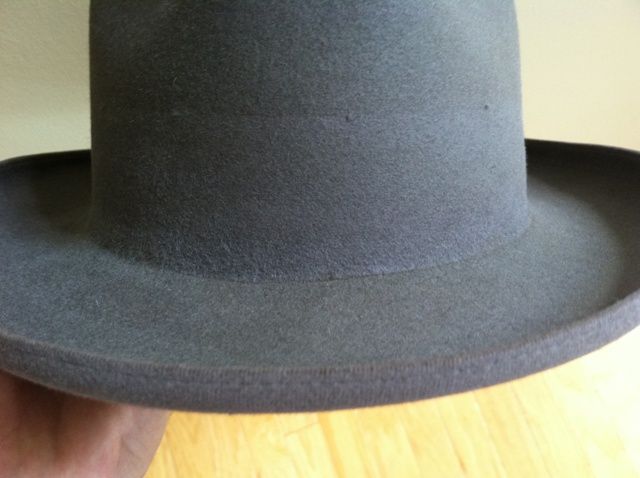
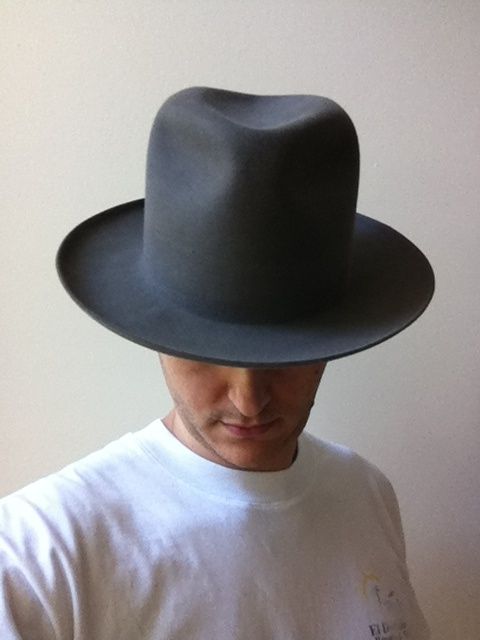
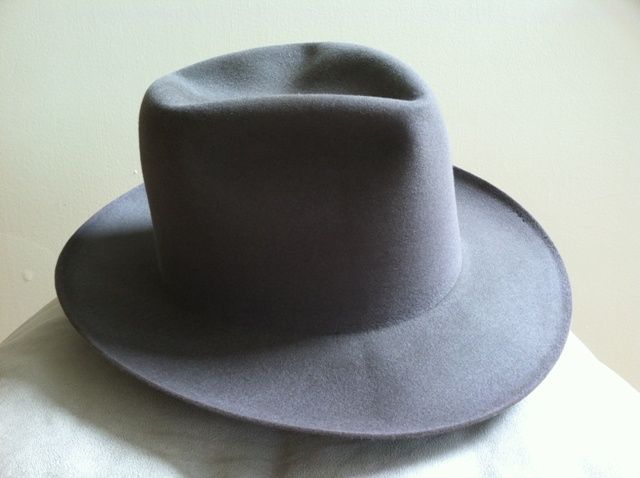
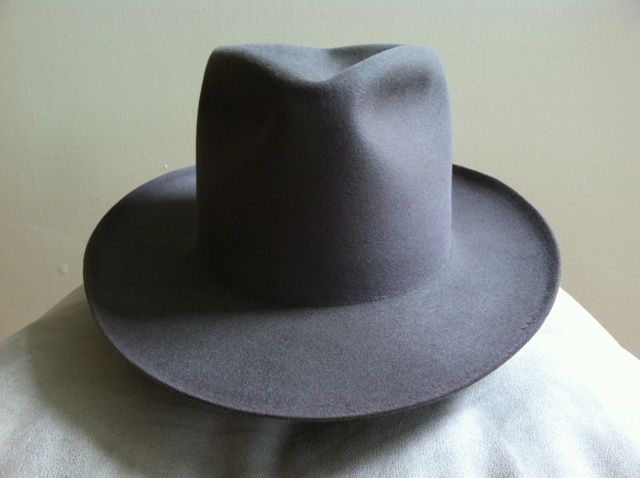
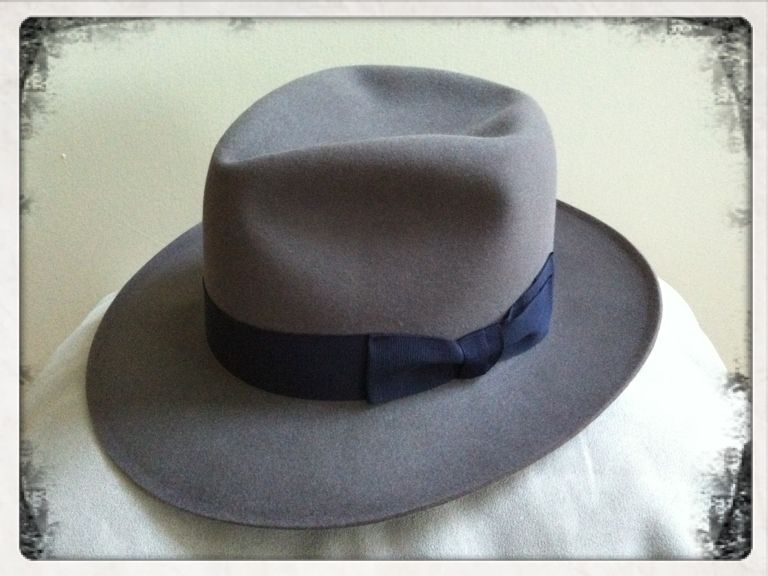
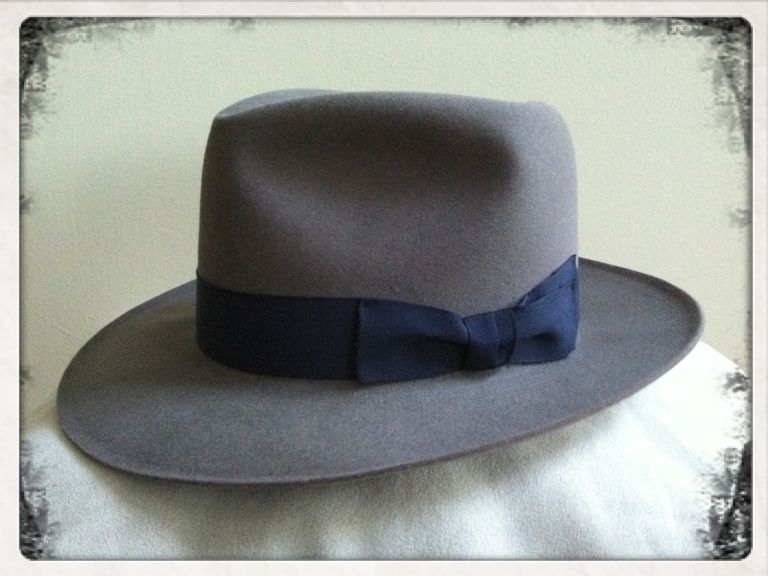
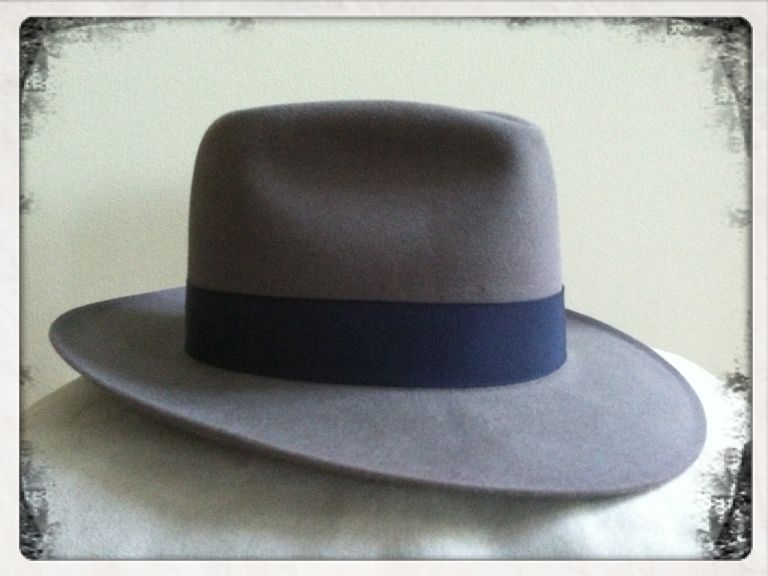
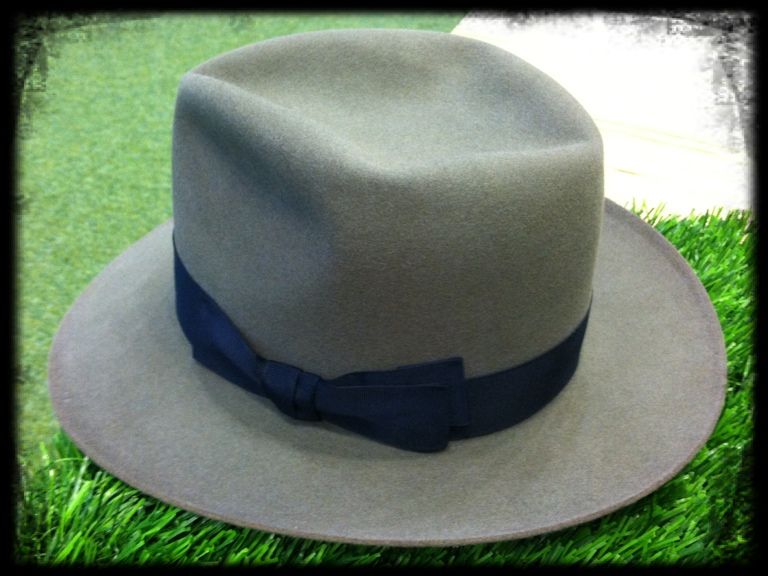
Added some brass eyelets to my Campdraft. Hopefully that will help me out here in sweltering Texas! I only did one side, is it more common to do both sides?
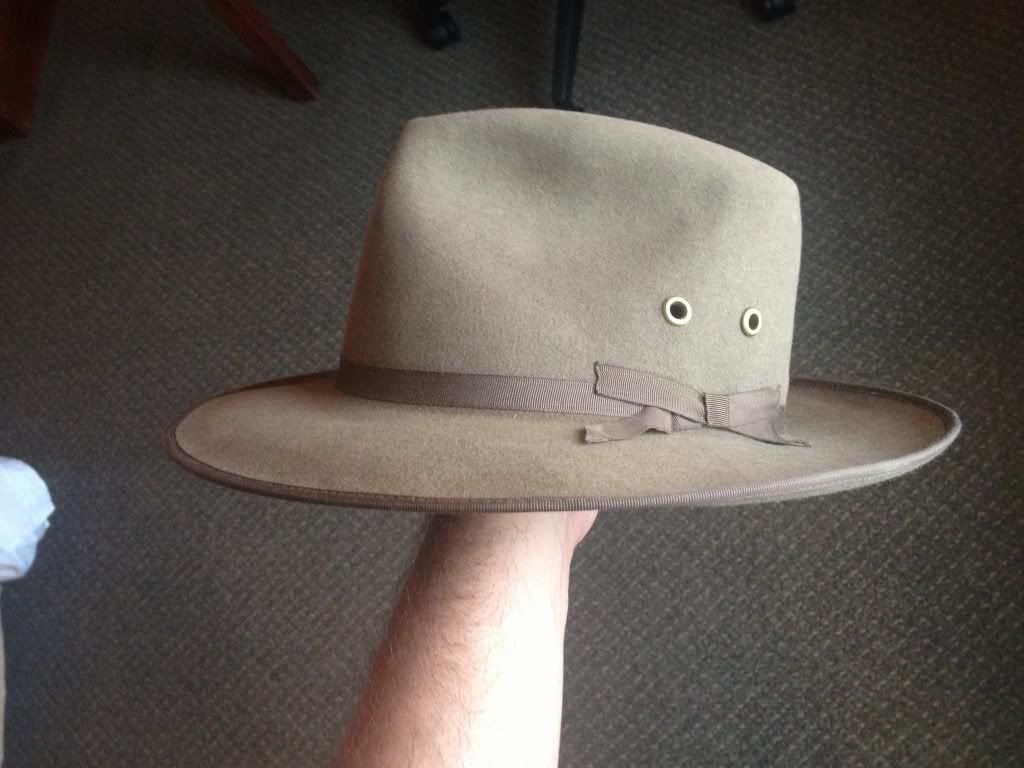
... I only did one side, is it more common to do both sides?
...
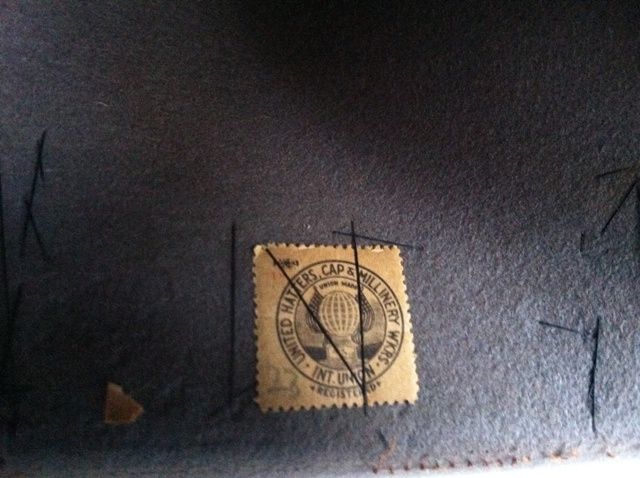
Yes, eyelets are about air flow. You need both sides to accomplish that.


")