Want to buy or sell something? Check the classifieds
  • The Fedora Lounge is supported in part by commission earning affiliate links sitewide. Please support us by using them. You may learn more here.

TheDane

Call Me a Cab
Messages
2,670
Location
Copenhagen, Denmark
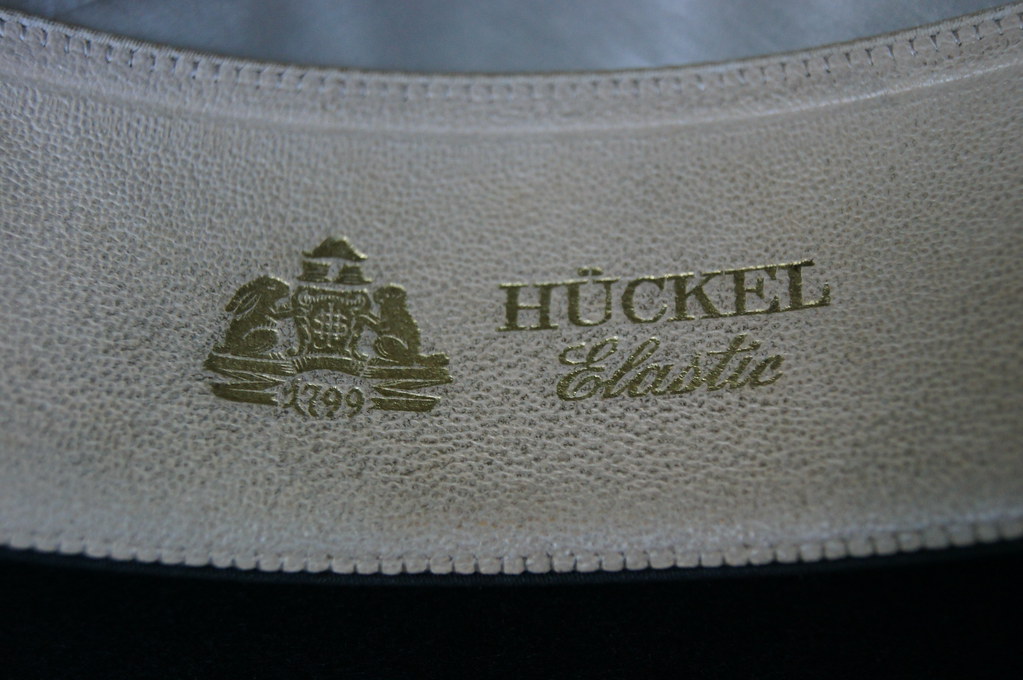
If it's a shellac stiffener, it can be dissolved in an alcohol bath (regular denaturized alcohol). I would definitely try alcohol on a small spot to see, if it'll remove the stiffener.
 

Morthwyl

New in Town
Messages
5
Location
United Kingdom
Right, so my plan of attack will be:

1) Steam brim and brush out stiffener, I'll try using alcohol if that doesn't work.
2) Steam and stretch crown to fit my big head, it needs to be maybe up to 1cm larger.
3) Steam and flatten brim after re-sizing so it doesn't get warped again.

Any tips for the sweatband or should I just wing it and see what works best?
 

EstherWeis

Vendor
Messages
2,615
Location
Antwerp
What you can do is steam inside the crown just a tiny bit.
Then put it on for a while. Don't pull to hard.
It will mold itself perfectly to you head shape.
Might be a tad unorthodox, but works every time.

I sew mine in by hand. You can hide the stitch by using the stitching on the back of the sweat.
That way you won't get an ugly stitch on the outside of the hat.
Def. don't want that with the long hair finish...
 

Lean'n'mean

I'll Lock Up
Messages
4,077
Location
Cloud-cuckoo-land
Right, so my plan of attack will be:
2) Steam and stretch crown to fit my big head, it needs to be maybe up to 1cm larger.
3) Steam and flatten brim after re-sizing so it doesn't get warped again.

Is that 1cm too small with or without the sweatband ? You'll have to add another cm if that's without. If you stretch the base of the crown to such an extent with just a hat stretcher & not the whole crown on a block, you will get a marked 'step' around the base of the crown. It's quite difficult to smooth it away so it blends in with the rest of the crown & it will also give a strong taper. Just so you know what to expect. :rolleyes:
Oh & if you are using a hat jack to stretch it, keep the hat jack in when flattening the brim.

Any tips for the sweatband or should I just wing it and see what works best?

Once you've got a good level stitch guide line around the base of the crown, the actual stitching is pretty straight forward, presuming you haven't done it before, you don't want tiny stitches nor wide ones, around 4 to 5mm apart would be something to aim for. Polyester button thread works for me, I use a sort or running stitch, then come back around again, sorta like a saddle stitch but you do see the stitches on the outside but they are usually covered anyway by a ribbon or band.
Remember too that if you place the sweatband a little too high, you will reduce the size of the hat, likewise if you don't get the desired size by stretching you can try sewing the sweatband a little lower than you were planning to, which will give you a little more 'head room' though you will loose 1/2 cm or so of brim width.
 
Last edited:

Morthwyl

New in Town
Messages
5
Location
United Kingdom
I've stretched a hat before so I should be ok with that bit (I hope), good idea to keep the jack in when working on the brim.

Annoyingly the sweatband I purchased has a tiny reed area with which to attach it to the body, I guess I'll have to be extra careful when sewing it in. I'm not too worried about a stitch line on the outside as there'll be a ribbon covering it when it's finished.

Also, the sweatband doesn't taper to the same degree as the inside of the crown, causing it to ripple towards the top of the hat. Can it be steamed and stretched like grosgrain to fix this or should I just accept some rippling?


TheDane

Call Me a Cab
Messages
2,670
Location
Copenhagen, Denmark
Can it be steamed and stretched like grosgrain to fix this or should I just accept some rippling?
No, you can not use steam. That will make the leather wrinkle completely up.

The leather should be cut to a curve - like the curve you iron a ribbon into before attaching it. Cutting the ends in a slight V-shape may also help a little.

A very important detail is discussed in the last posts in the thread, Brad linked to above. The reed must be cut somewhat longer than the leather, before butting the ends together in a ferule.
 

RJR

Messages
10,620
Location
Iowa
No, you can not use steam. That will make the leather wrinkle completely up.

The leather should be cut to a curve - like the curve you iron a ribbon into before attaching it. Cutting the ends in a slight V-shape may also help a little.

A very important detail is discussed in the last posts in the thread, Brad linked to above. The reed must be cut somewhat longer than the leather, before butting the ends together in a ferule.
Agreed,you need a slight V so the sweat won't ripple.
 

TheDane

Call Me a Cab
Messages
2,670
Location
Copenhagen, Denmark
Agreed,you need a slight V so the sweat won't ripple.
Yes, it helps a little, but it's a lot more important, that the leather is cut to a long curve. That makes the length of the upper edge quite a bit smaller than the lower. That'll make the sweat taper towards the top.
 

TheDane

Call Me a Cab
Messages
2,670
Location
Copenhagen, Denmark
Here's a picture of how Jim W. cuts his sweats: http://www.thefedoralounge.com/threads/making-a-new-hat.12662/page-5#post-531929

"Drumming", "belling", "ballooning", "cushioning" or "flaring" ... called many things :)

Back in the day, the top of the leather was also rolled very hard between two steel rollers. It usually left a nice embossed groove in the leather. The actual purpose was not ornamental, though. It was to compress the leather and make the very top a little longer than the rest. That would make it bend outward a little - and secure even better cushioning :)

Now, all is left is a useless gold stripe.
 

TheDane

Call Me a Cab
Messages
2,670
Location
Copenhagen, Denmark
Thanks, Ole!


Sent directly from my mind to yours
You're welcome :)

I now see, some of my latest postings can seem contradictory. I have made a simple drawing to show, what I mean:

SweatBand.png


The curved cutting of the leather and the V-cut will give you a tapering band like "A".

Cutting the monofilament (reed) longer than the leather - and butting the ends together inside a ferule - will press the lower edge out like in "B". This was often emphasized by rolling the lower edge between two steel rollers.

If you furthermore roll the upper edge, you'll get a band like "C".

Hope, that cleared up my blurry explanations above :D
 
Messages
17,251
Location
Maryland
Here's a picture of how Jim W. cuts his sweats: http://www.thefedoralounge.com/threads/making-a-new-hat.12662/page-5#post-531929

"Drumming", "belling", "ballooning", "cushioning" or "flaring" ... called many things :)

Back in the day, the top of the leather was also rolled very hard between two steel rollers. It usually left a nice embossed groove in the leather. The actual purpose was not ornamental, though. It was to compress the leather and make the very top a little longer than the rest. That would make it bend outward a little - and secure even better cushioning :)

Now, all is left is a useless gold stripe.

You often see the use of a reed at the top (for cushioning) on old German and Austrian Stiff Felts.

5906631302_79afa044a7_b.jpg


5906635720_6c3f3c0a8e_b.jpg


5906634180_86c1416be1_b.jpg
 

Morthwyl

New in Town
Messages
5
Location
United Kingdom
The sweatband is cut to a curved shape, it's just not enough of a curve for this particular hat. I'll make do with it though and see if I can remove most of the ripples with a v-cut.

I've tried a couple of things to get the stiffener out, it's quite deep into the pile in some places and gives patches of the underside a slightly shiny smooth finish. I'll never get it all out so I'm just making it less noticeable. Steaming and brushing with a toothbrush takes off some of the surface residue and if I scrub hard it roughs up the pile a bit so its not as smooth and shiny. The ripples in the brim aren't as prominent now so it should be easier to flatten.

Thanks to everyone for all the advice. I've sourced some two inch thick, cotton rich grosgrain in the correct colour and I'll finish this project off after my finals, here's what I'm aiming for:


The brim is slightly upturned in the promotional photos but is pretty flat in the actual episodes, I'm going for the episode look with mine.
 

brandondefranco

New in Town
Messages
3
Hey everyone!

Newbie here, just wondering... i recently purchased a Akubra Arena hat and i want to flatten the brim.. i took it to a dry cleaning place that supposedly restored hats and they said you can flatten the brim, but an actual hat store said you could. So my question is, is there anyway i could flatten the brim straight without it having any curve what-so-ever too it? If so could someone please explain some good ideas on how to..


Thankyou.

P.S I'm not 100% sure if this was the right location to post this question.

-Brandon
 

Lean'n'mean

I'll Lock Up
Messages
4,077
Location
Cloud-cuckoo-land
Some people iron them (with a piece of cloth between iron & brim) but I simply steam a section of the brim, say 5-6 inches at a time,then press & smooth the brim with my hand on a hard flat surface & then work around the brim. If your hat is a little tight, then this may distort the brim when you put it on, so putting something like a Hat-Jack set at your head size in the hat when flattening the brim, will solve this problem.
 
Messages
17,589
L'n'M is posting sound advice & that is exactly how I do mine also. I like to sit in a chair & have a hard surface I can turn so I use a cutting board in my lap to flatten against. When I'm getting close to the brim I want I use the wooden back of a men's clothes brush as an iron to get up close to the crown & out to the edge of any curl & "iron" out the final round or two.

Here are before & after pics on flattening the brim & leaving a small curl on my Akubra Woomera.

nzhe8m.jpg


10mvv61.jpg
 

Forum statistics

Threads
107,312
Messages
3,033,722
Members
52,748
Latest member
R_P_Meldner
Top