flat-top
My Mail is Forwarded Here
- Messages
- 3,668
- Location
- Palookaville, NY
:eusa_clapHbk.................wow!!!!!!!!:eusa_clap
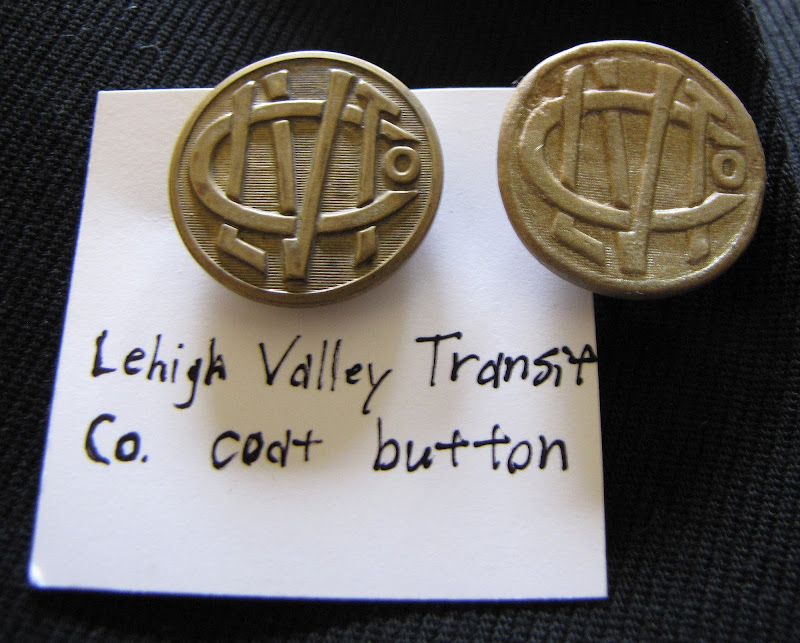
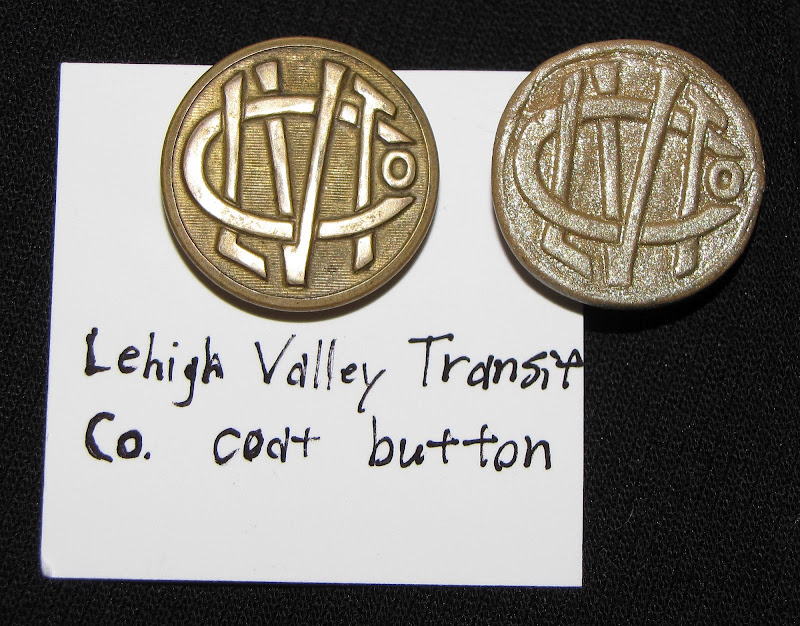
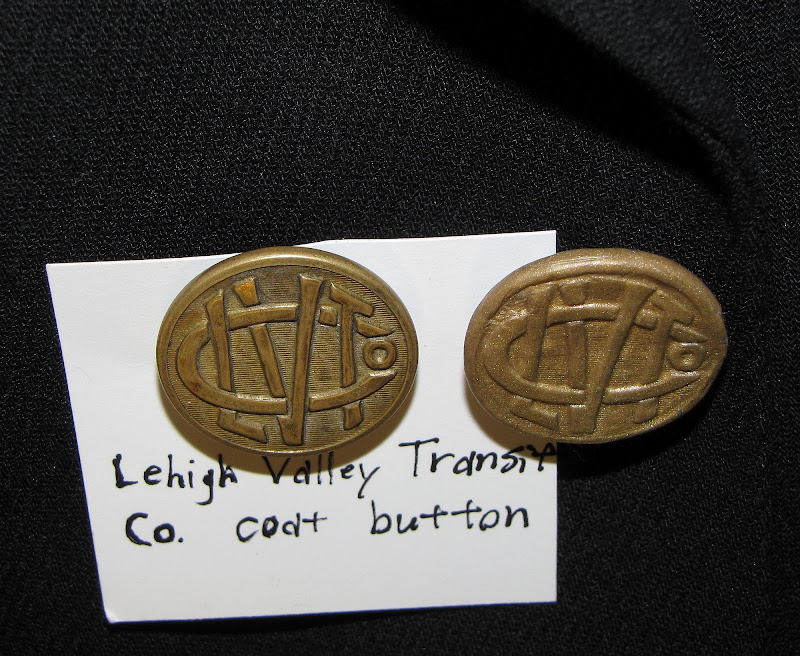
Quirrel: I really like the idea of a summer blazer. Quite dandy. Do you plan to wear it with white or cream pants? 4 buttons would really look edwardian. Not sure about that. 3 rather high buttons would make a 20s look? (the bottom button at the height of the pocket opening?)
we men have so few options to begin with.
")
And here are some more: (pics deleted for brevity)
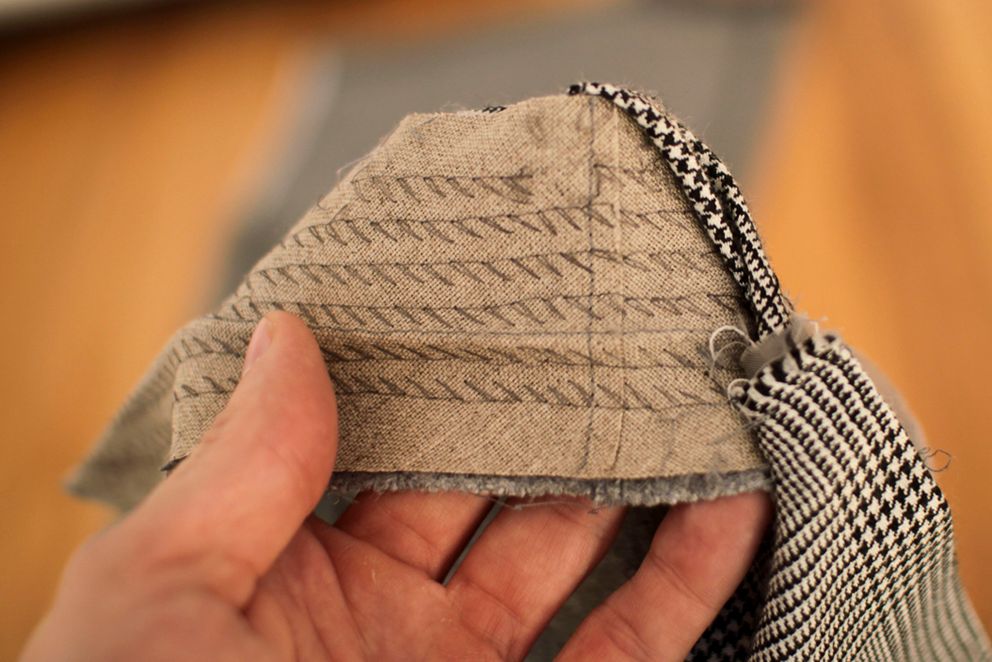
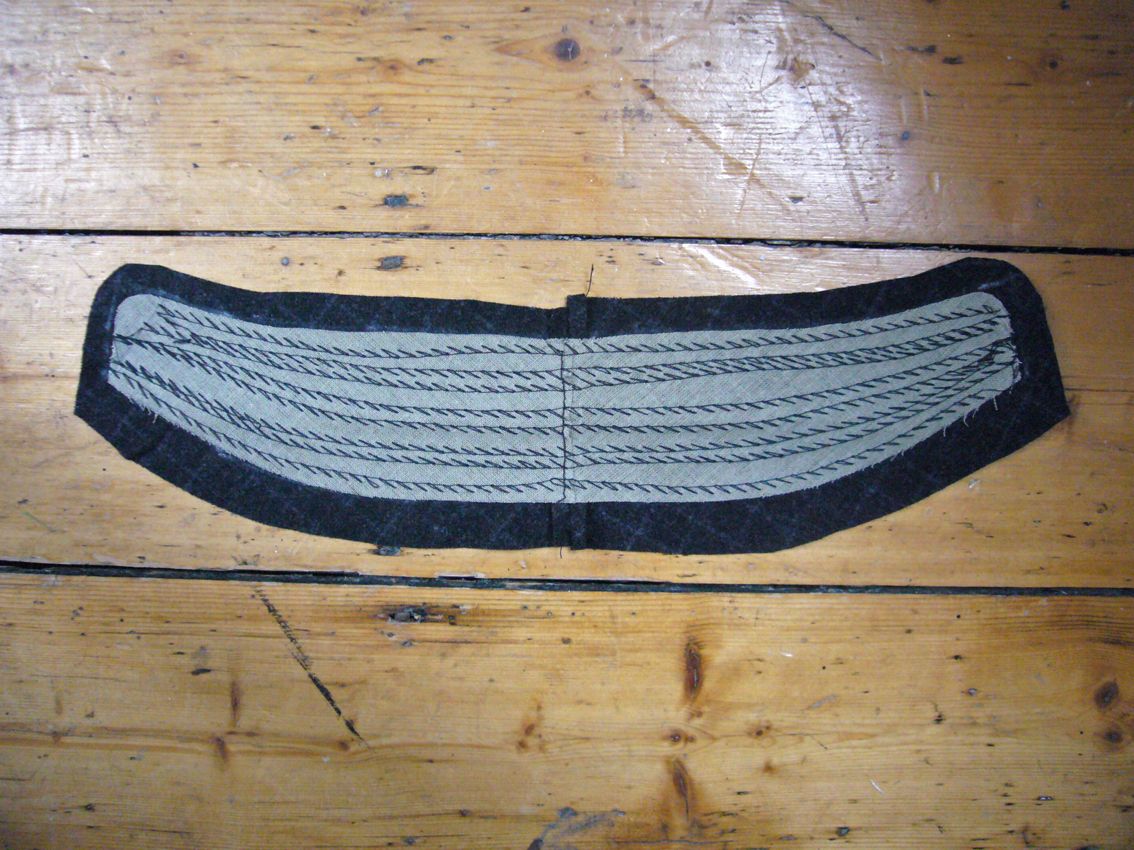
HbK, I'm curious, if you're hand-felling linings on the body and pockets, why machine padstitch the collar? Is it to save time, or is it for the particular effect on the finished collar?
 John Lofgren Monkey Boots Shinki Horsebuttt - $1,136 The classic monkey boot silhouette in an incredibly rich Shinki russet horse leather.
  Grant Stone Diesel Boot Dark Olive Chromexcel - $395 Goodyear welted, Horween Chromexcel, classic good looks.
  Schott 568 Vandals Jacket - $1,250 The classic Perfecto motorcycle jacket, in a very special limited-edition Schott double rider style.


I wish I could be a tailor...this stuff looks so cool...