So here we are at last - painting Lucky Dog on the back panel of my Aero ANJ-3 and, like the mission tally marks, we begin with painting a white base in acrylic paint. This is no different to what you've seen so far - it just expands on the same principles.
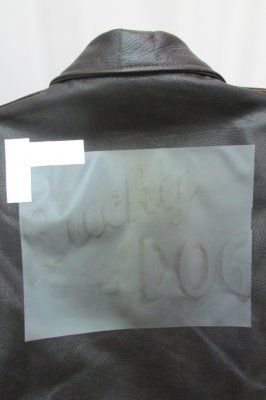
First, make sure your stencil is placed centrally and has the correct rotation. Most important! You don't want to discover that slight mistake later on ...!
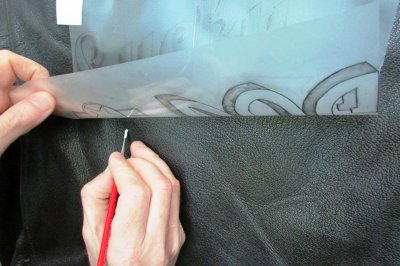
Then comes perhaps the hardest part - putting that first touch of paint on the jacket. It's not easy - as it requires a definite leap of faith and, once done, you're committed.
But once on, the anxiety passes - and then it's a matter of being in for a penny and in for a pound - and you're on your way and it becomes simply a matter of seeing this through to the end.
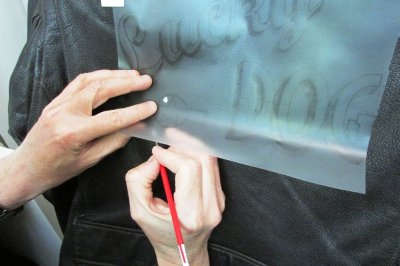
So here I am using the stencil to create the USAAF "star and bar" which will act as a trig-point or land-marker for the rest of the stencil to make sure that it is accurately replaced each time.
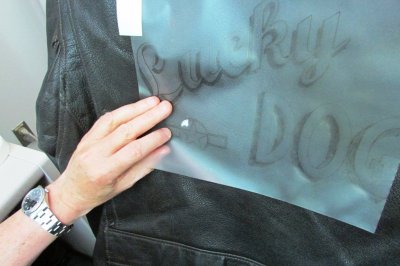
And I just add in more acrylic to flesh out the white circle.
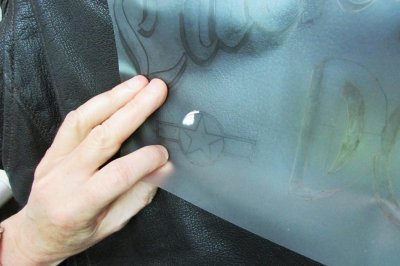
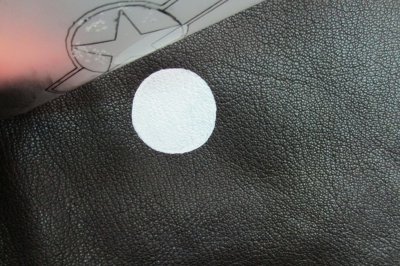
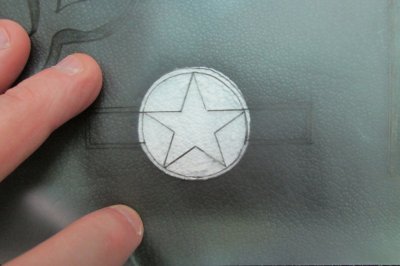
So keep verifying your progress with the stencil. So now it becomes very clear why an accurate stencil is so helpful!
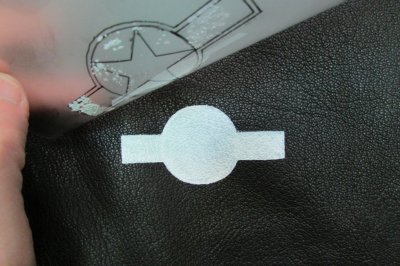
The "bar" added. Baby steps, you see.
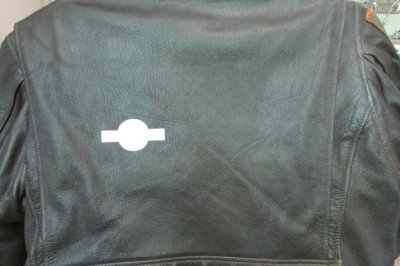
So the "star and bar" is all done. Now to work on Lucky ...
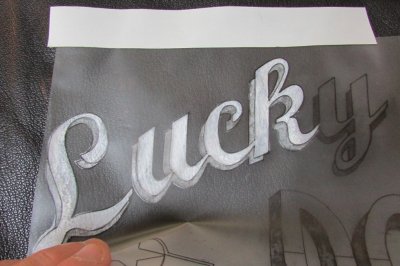
And just keep working that stencil back and forth like an animator's page and keep going - just as with the tallies ...
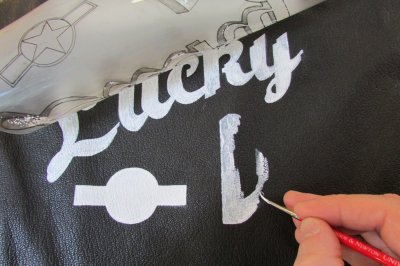
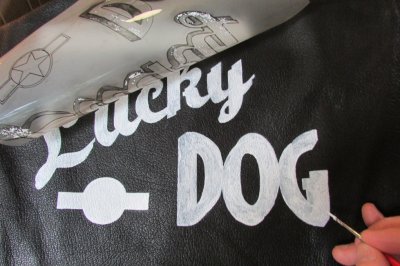
So getting to the end of the first coat of white paint - and a second coat all over is required.
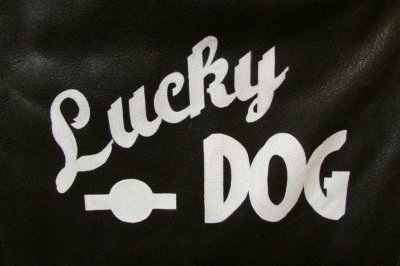
Ta-Daaah!
In this shot, the DOG part looks crooked - that's just the jacket not lying flat for the photo (I'm doing all this myself - holding the paint brush and taking photos!) - but it is straight.
So the base is done!
Next we start adding colours!
End of part 6.

First, make sure your stencil is placed centrally and has the correct rotation. Most important! You don't want to discover that slight mistake later on ...!

Then comes perhaps the hardest part - putting that first touch of paint on the jacket. It's not easy - as it requires a definite leap of faith and, once done, you're committed.
But once on, the anxiety passes - and then it's a matter of being in for a penny and in for a pound - and you're on your way and it becomes simply a matter of seeing this through to the end.

So here I am using the stencil to create the USAAF "star and bar" which will act as a trig-point or land-marker for the rest of the stencil to make sure that it is accurately replaced each time.

And I just add in more acrylic to flesh out the white circle.


So keep verifying your progress with the stencil. So now it becomes very clear why an accurate stencil is so helpful!

The "bar" added. Baby steps, you see.

So the "star and bar" is all done. Now to work on Lucky ...

And just keep working that stencil back and forth like an animator's page and keep going - just as with the tallies ...


So getting to the end of the first coat of white paint - and a second coat all over is required.

Ta-Daaah!
In this shot, the DOG part looks crooked - that's just the jacket not lying flat for the photo (I'm doing all this myself - holding the paint brush and taking photos!) - but it is straight.
So the base is done!
Next we start adding colours!
End of part 6.
Last edited: