ABCD
I'll Lock Up
- Messages
- 7,710
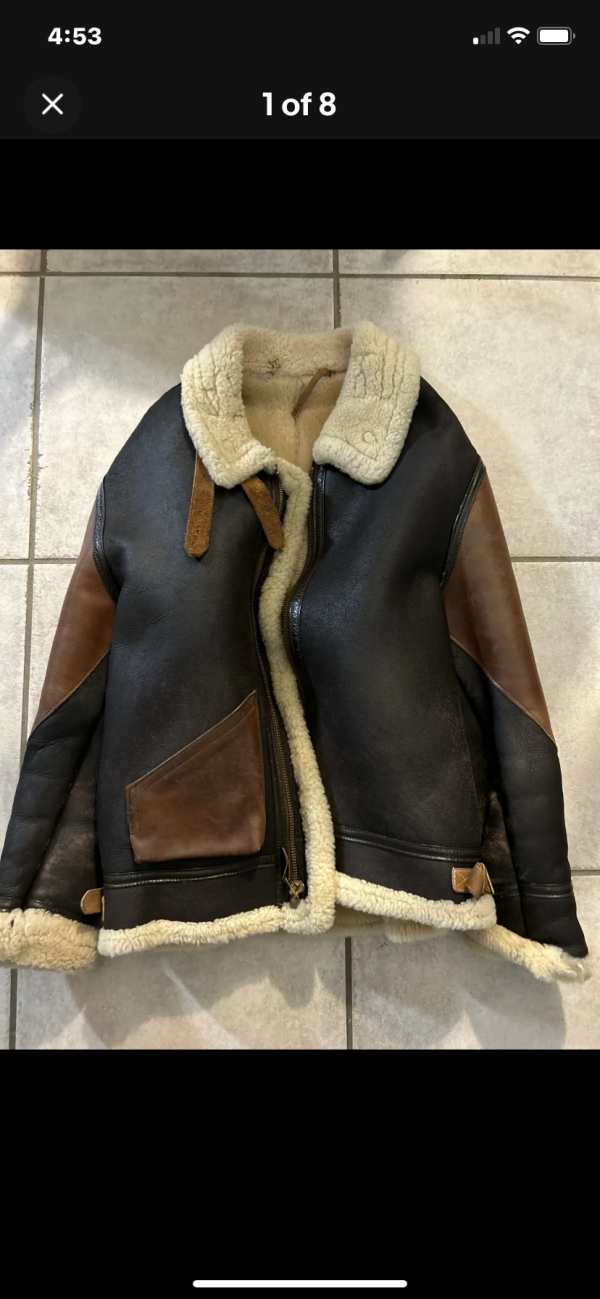
I've washed the jacket, removed the shoulder pads, glued some topcoat nicks, hand sewed the busted seams, replaced the elastic bands holding the gussets in place and reconditioned the leather. Now waiting for the replacement buttons to be delivered.


")


