djgo-cat-go
Practically Family
- Messages
- 905
- Location
- Netherlands
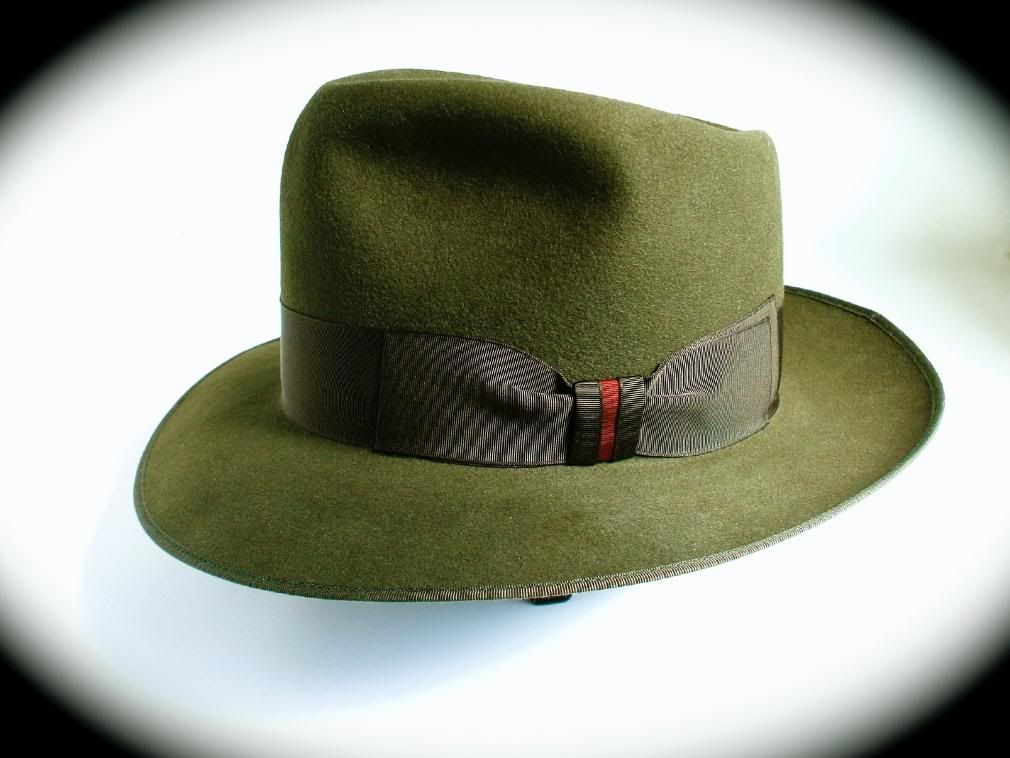
This is a hat posted by Tom-N-Perris, and I was intrigued by the 'tugboat' shape of the hat.. Bashing seems one thing but getting this shape into a hat looks to me like pure craftmansship and skill.. Could someone tell me how to get this shape bashed into a hat? I'm hoping to receive my first ever 'serious'-hat (Federation IV) this week and my hands are itching..
Diego
this
Diego
this
")


