T Jones
I'll Lock Up
- Messages
- 6,842
- Location
- Central Ohio
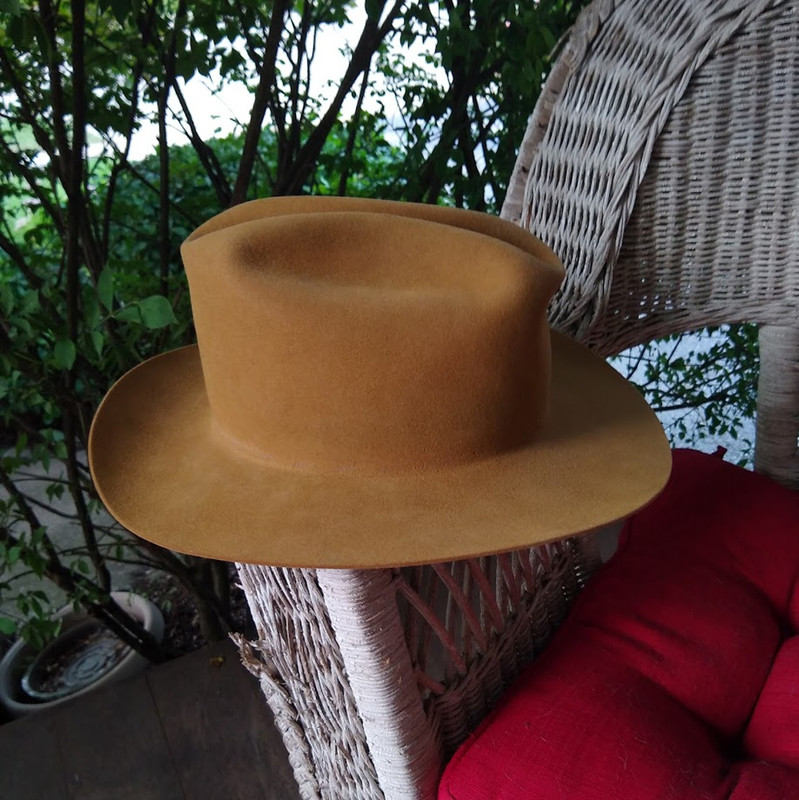
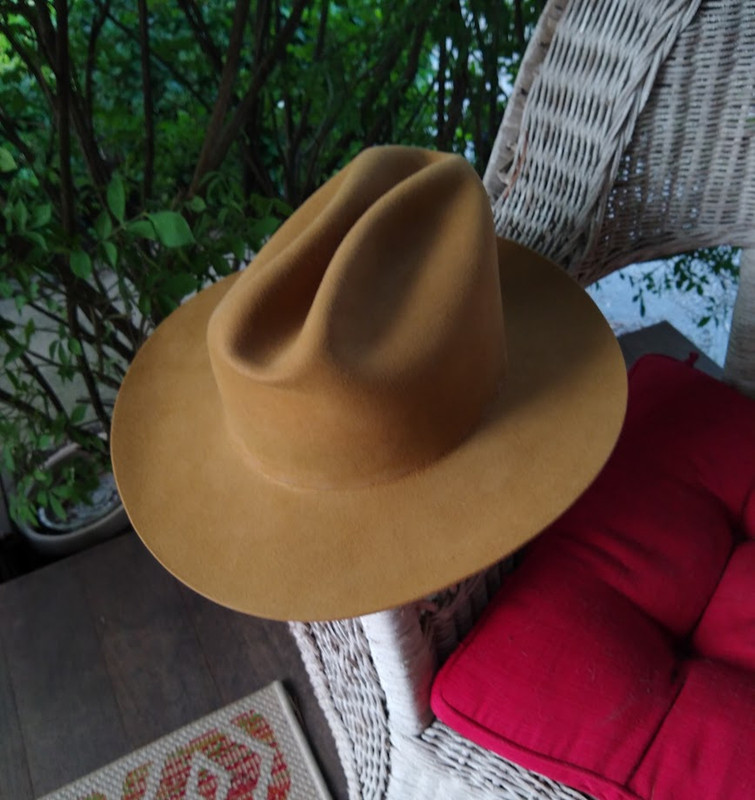
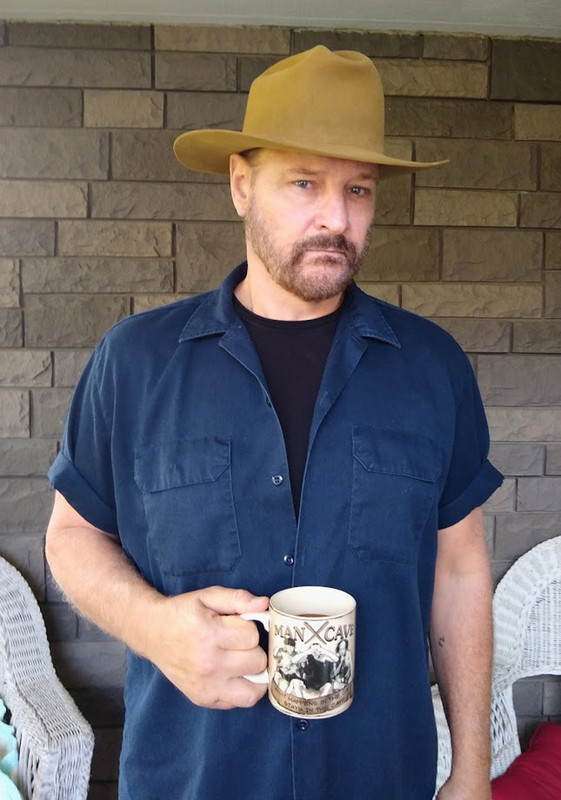
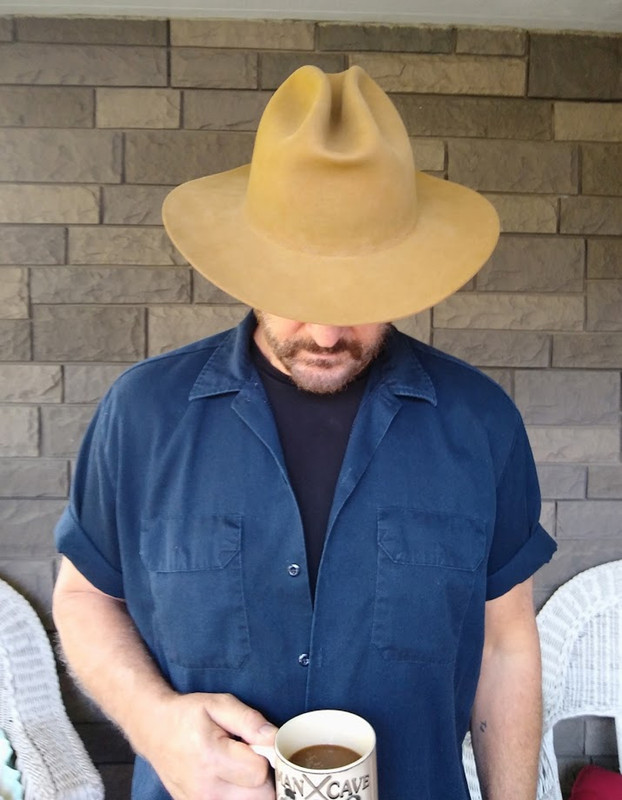
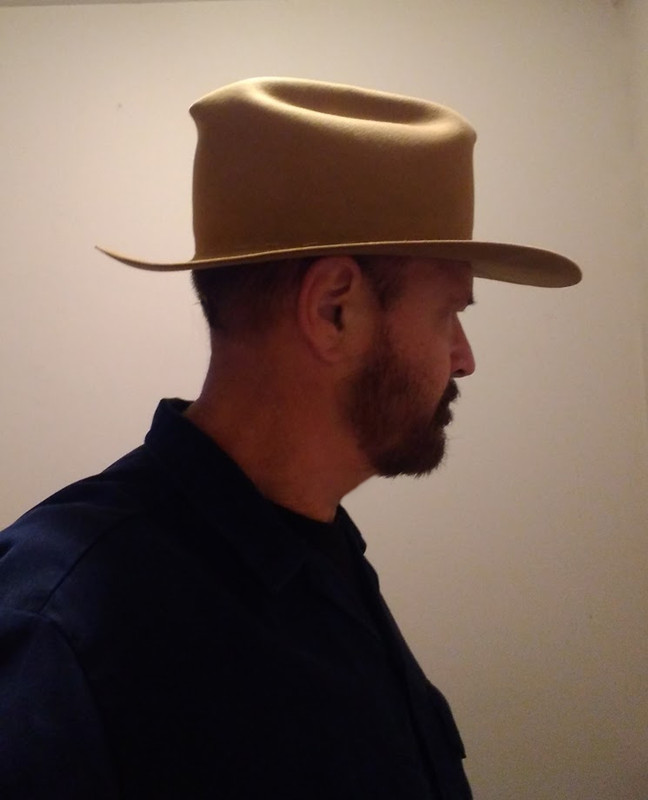
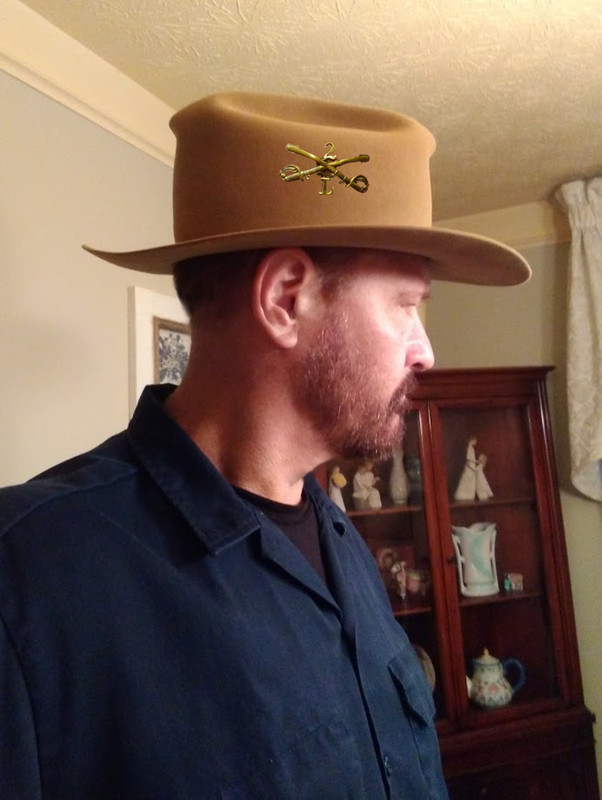
Excellent. Thanks Bowen.View attachment 260243 View attachment 260244
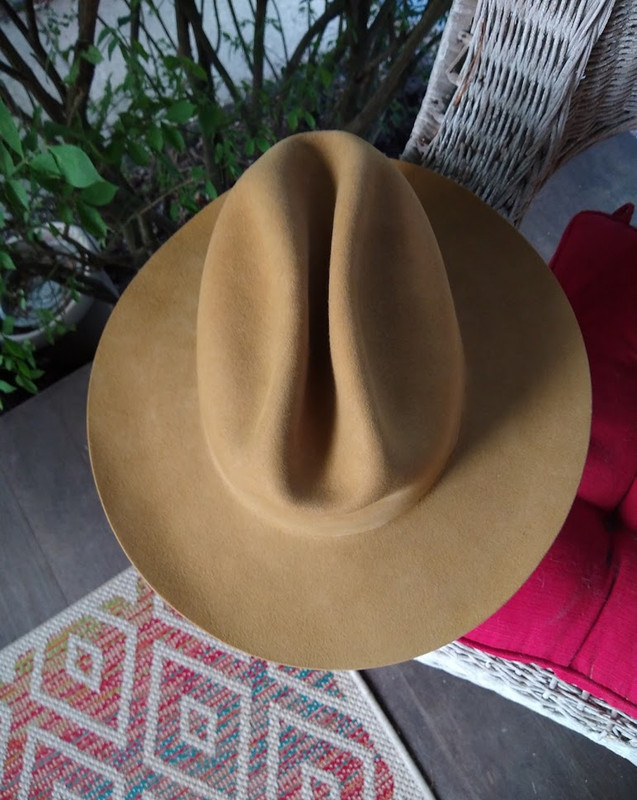
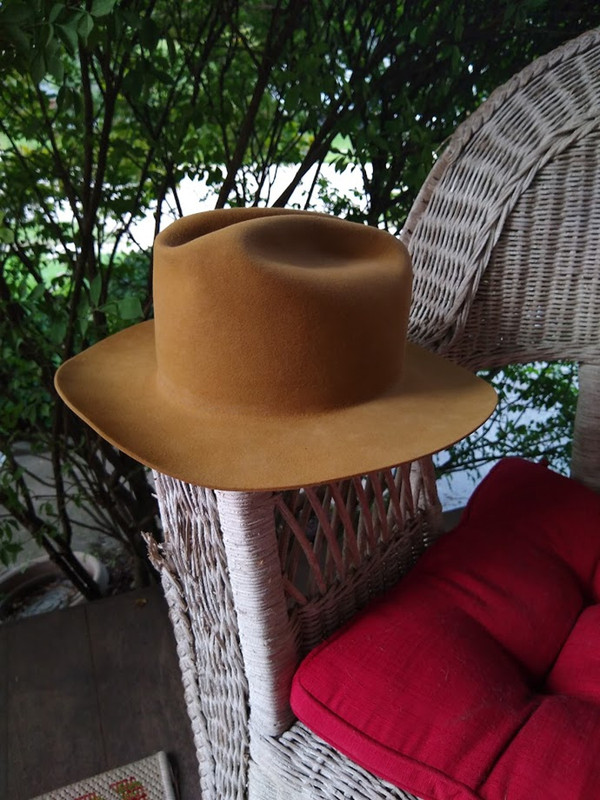
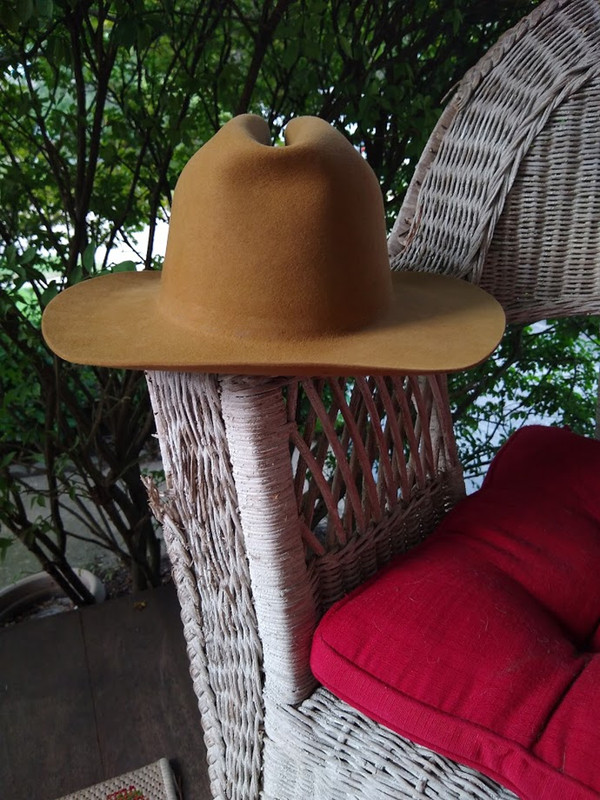
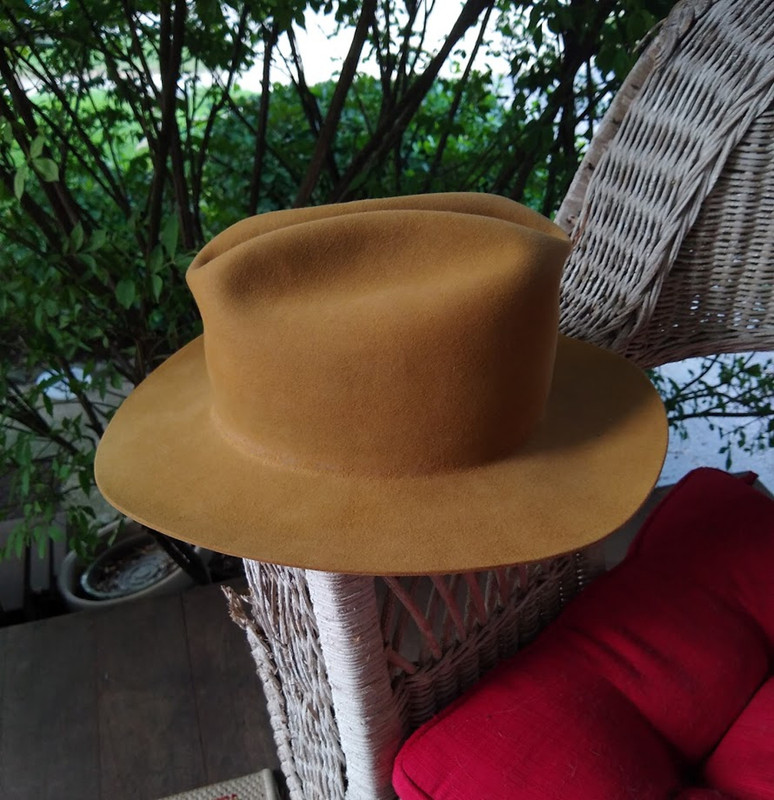
Appears to be 1/8” on this 2 row Stetson Nutria Quality. Circa early 60s i believe.
B
I need to find a Marine insignia like that. When the Marines first arrived in China in 1900, (during the Boxer Rebellion, 1899-1901), they wore the insignias on the sides of their hats. It was very shortly after arriving there that they began putting the insignias on the front of their hats, if what I read was correct. I'm still up in the air over doing a Marines campaign China hat or a Spanish American War campaign hat.
Last edited: