chicanoir
New in Town
- Messages
- 40
- Location
- los angeles
hey there, although i love art deco and am a purist in some things, i am also into reconstituting the dead (ie vintage pieces that would have otherwise been tossed in the garbage bin given new life vis-à-vis contemporary innovation).
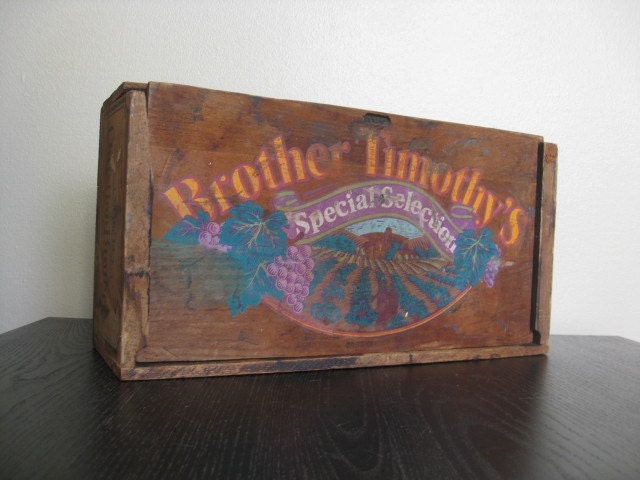
so, if you have nifty articles, tips, pictures, etc on how to reanimate dead vintage, PLEASE SHARE! i'll start with this swell piece...

this was designed by an la props master.
WANNA MAKE IT?
1. Draw a line around the face of the trunk 2½ inches from each outside edge with a pencil. Cut this piece out with a jigsaw.
2. Drill holes for casters in the four corners of the trunk to serve as the bottom of your new bookcase. Attach casters.
3. Cut a -inch piece of birch plywood 1 inch wider and 1 inch longer than the opening you’ve cut into the face of the trunk.
4. Cut two pieces of ½-inch birch plywood the depth of the inside of the trunk and the length of your -inch birch panel, and two pieces the depth of the inside of the trunk and 1 inch shorter than the width of the birch panel. Assemble these pieces into a box with the -inch panel as the back, using the 1½-inch brad nails.
5. Drill -inch holes for shelf pins where you’d like shelves.
6. Remove any lining from the trunk. Glue the back of your newly assembled box to the inside back of the trunk so that when you close it, the edge of the box lines up under the opening you’ve cut.
7. Trim the edge of the opening with aluminum corner channel cut at 45-degree angles.
8. Insert the shelf pins.
9. Cut the ½-inch birch plywood into shelves the width and depth of the inside opening of your bookcase. Finish the edges with birch finish strips, cutting with the X-Acto knife.
10. Sand the wood using fine sandpaper, and wipe clean with a piece of cloth.
11. Finish all wood with polyurethane. In between coats, lightly sand the wood again and wipe down with the cloth before applying another coat of polyurethane. Insert the shelves into the trunk.
et voilà!
so, if you have nifty articles, tips, pictures, etc on how to reanimate dead vintage, PLEASE SHARE! i'll start with this swell piece...
this was designed by an la props master.
WANNA MAKE IT?
1. Draw a line around the face of the trunk 2½ inches from each outside edge with a pencil. Cut this piece out with a jigsaw.
2. Drill holes for casters in the four corners of the trunk to serve as the bottom of your new bookcase. Attach casters.
3. Cut a -inch piece of birch plywood 1 inch wider and 1 inch longer than the opening you’ve cut into the face of the trunk.
4. Cut two pieces of ½-inch birch plywood the depth of the inside of the trunk and the length of your -inch birch panel, and two pieces the depth of the inside of the trunk and 1 inch shorter than the width of the birch panel. Assemble these pieces into a box with the -inch panel as the back, using the 1½-inch brad nails.
5. Drill -inch holes for shelf pins where you’d like shelves.
6. Remove any lining from the trunk. Glue the back of your newly assembled box to the inside back of the trunk so that when you close it, the edge of the box lines up under the opening you’ve cut.
7. Trim the edge of the opening with aluminum corner channel cut at 45-degree angles.
8. Insert the shelf pins.
9. Cut the ½-inch birch plywood into shelves the width and depth of the inside opening of your bookcase. Finish the edges with birch finish strips, cutting with the X-Acto knife.
10. Sand the wood using fine sandpaper, and wipe clean with a piece of cloth.
11. Finish all wood with polyurethane. In between coats, lightly sand the wood again and wipe down with the cloth before applying another coat of polyurethane. Insert the shelves into the trunk.
et voilà!
")