StanleyVanBuren
Registered User
- Messages
- 409
- Location
- Pacific Palisades, CA
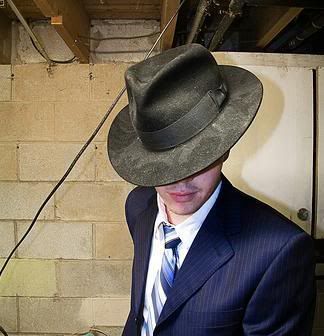
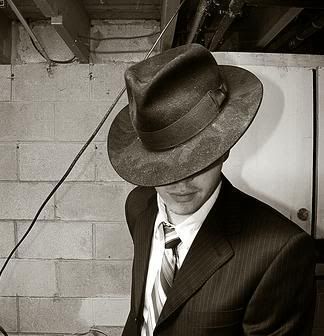
That daguerreotype look is the best I've seen so far from the simple application of a filter w/out any further tweaking.


")
Jack Scorpion said:Well, ain't no pro, but you folks got me to experimenting a little.


 John Lofgren Monkey Boots Shinki Horsebuttt - $1,136 The classic monkey boot silhouette in an incredibly rich Shinki russet horse leather.
  Grant Stone Diesel Boot Dark Olive Chromexcel - $395 Goodyear welted, Horween Chromexcel, classic good looks.
  Schott 568 Vandals Jacket - $1,250 The classic Perfecto motorcycle jacket, in a very special limited-edition Schott double rider style.