Stoney
Practically Family
- Messages
- 977
- Location
- Currently on the East Coast
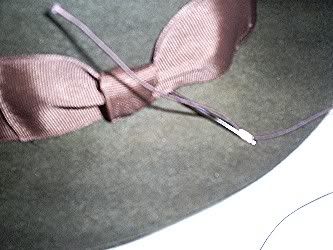
I've been asked to post some tips for installing wind cords. I'm not really a subject matter expert, but can pass on how I do this at home. If anyone has anything more to add, or modify, to this procedure please feel welcome to do so.
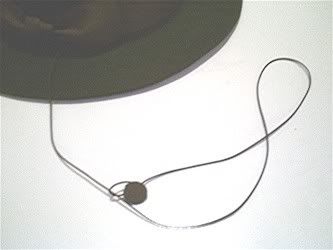
I use stretchrite beading cord for all of my new and replacement wind trolleys.
The elastic provides a shock line effect if the hat is actually blown off when the cord is being used , much like shock lines used by rock climbers. The size of the cord is correct for a wind trolley, it can be colored or dyed to match the hat ribbon and the elastic provides a snug fit that does not droop after it is installed.
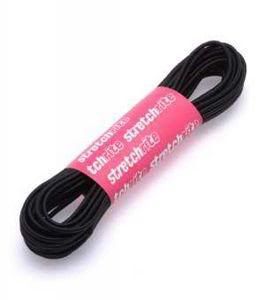
Of course this is the black variety. use the same type of cord in white if you are doing colors other than black. I use RIT dye to color the elastic cord. You can also use fabric markers , thanks for the tip Spatterdash , although they will not get down into the grooves of the elastic as easily as dye so you have to go over the cord more than once to get complete coverage.
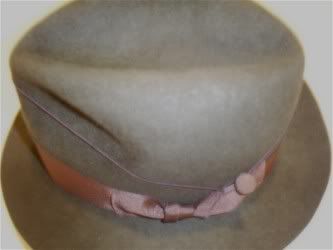
The following cords were all colored using dark brown RIT brand dye. For very light colors you can just soak the cord in cold dye or, place the dye in a glass and microwave for 5 minutes for a slightly darker shade. For medium and dark shades you need to simmer the cord in a pan full of dye for 30 seconds , for light to medium, and up to an hour for a very dark shade.

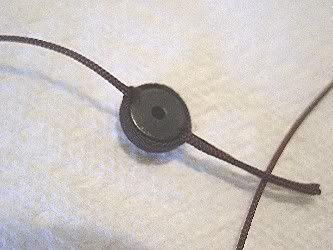
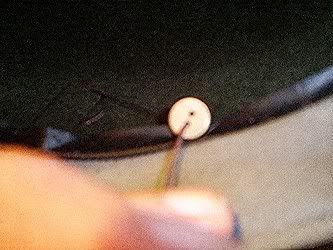
The next step is the button for the cord. You can use a plain or fancy shank back button like this one.
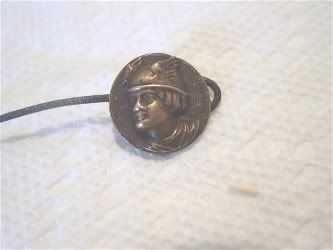
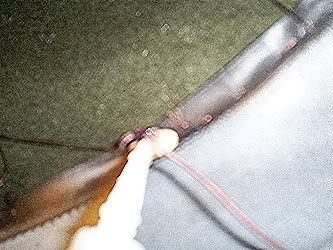
A faux pearl snap button for a western shirt makes an interesting button and can be crimped onto the cord using a pair of channel locks and a towel to prevent marring the finish. These are available in most any craft or fabric store.
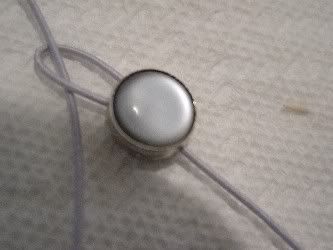
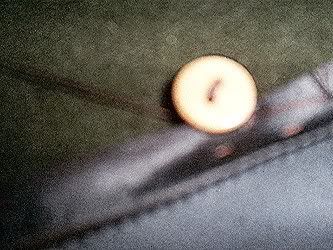
The side view of the western shirt snap button.
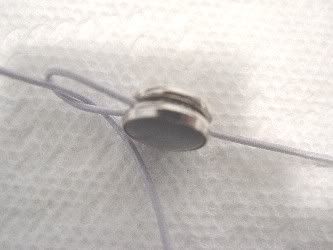
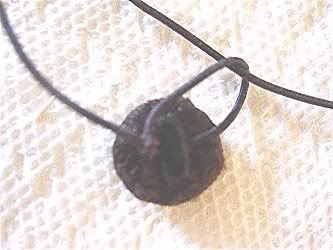
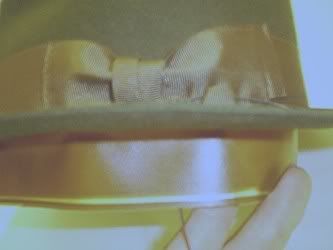
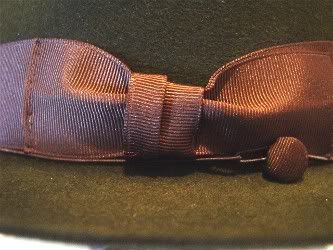
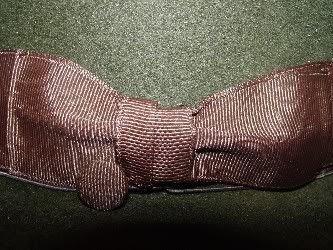
The most commonly seen buttons are covered with a bit of matching ribbon fabric like this one from one of my vintage Borsalinos.
Front
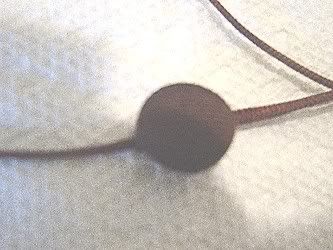
and Back . Notice the nice finished back plate on this button.
Ribbon covered buttons are challenging to make, but it can be done in about 30 minutes. This is my method for making them.
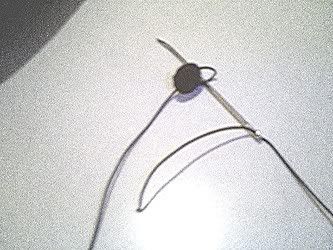
Start with a plain shank back button fig 28. Cut a circular piece of ribbon as shown in fig 29 below, you need to make the circular cutout slightly larger since the Grosgrain ribbon will fray at the edges.
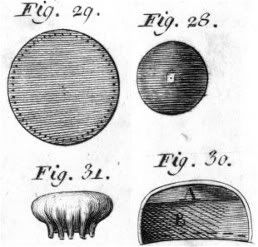
Sew a single thread all the way around the circular patch. Use the dot pattern shown in figure 29 above. You should have two ends of the thread coming out of the fabric from opposite directions when you are done.
Place the button in the center of the circular piece of fabric and pull both ends of the thread to enclose the button face in the fabric. as shown in fig 31. Tie off the thread so the cinch stays fairly tight.
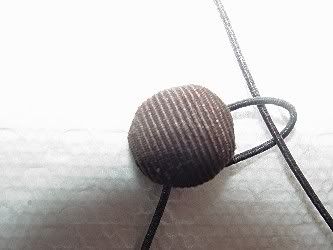
At this point I sew all around the back of the button once again, just behind the back edge, and pull this thread tight in order to tighten the face of the fabric over the button. Once this thread is tight you need to glue the ribbon to the back of the button using superglue. It helps to press down on the ribbon using a round toothpick as the glue is applied. Work your way around the back side of the button with the superglue and toothpick. Once the glue has dried you can use an exacto knife or razor blade to trim off the excess fabric. the button should look something like this one.
I use stretchrite beading cord for all of my new and replacement wind trolleys.
The elastic provides a shock line effect if the hat is actually blown off when the cord is being used , much like shock lines used by rock climbers. The size of the cord is correct for a wind trolley, it can be colored or dyed to match the hat ribbon and the elastic provides a snug fit that does not droop after it is installed.
Of course this is the black variety. use the same type of cord in white if you are doing colors other than black. I use RIT dye to color the elastic cord. You can also use fabric markers , thanks for the tip Spatterdash , although they will not get down into the grooves of the elastic as easily as dye so you have to go over the cord more than once to get complete coverage.
The following cords were all colored using dark brown RIT brand dye. For very light colors you can just soak the cord in cold dye or, place the dye in a glass and microwave for 5 minutes for a slightly darker shade. For medium and dark shades you need to simmer the cord in a pan full of dye for 30 seconds , for light to medium, and up to an hour for a very dark shade.
The next step is the button for the cord. You can use a plain or fancy shank back button like this one.
A faux pearl snap button for a western shirt makes an interesting button and can be crimped onto the cord using a pair of channel locks and a towel to prevent marring the finish. These are available in most any craft or fabric store.
The side view of the western shirt snap button.
The most commonly seen buttons are covered with a bit of matching ribbon fabric like this one from one of my vintage Borsalinos.
Front
and Back . Notice the nice finished back plate on this button.
Ribbon covered buttons are challenging to make, but it can be done in about 30 minutes. This is my method for making them.
Start with a plain shank back button fig 28. Cut a circular piece of ribbon as shown in fig 29 below, you need to make the circular cutout slightly larger since the Grosgrain ribbon will fray at the edges.
Sew a single thread all the way around the circular patch. Use the dot pattern shown in figure 29 above. You should have two ends of the thread coming out of the fabric from opposite directions when you are done.
Place the button in the center of the circular piece of fabric and pull both ends of the thread to enclose the button face in the fabric. as shown in fig 31. Tie off the thread so the cinch stays fairly tight.
At this point I sew all around the back of the button once again, just behind the back edge, and pull this thread tight in order to tighten the face of the fabric over the button. Once this thread is tight you need to glue the ribbon to the back of the button using superglue. It helps to press down on the ribbon using a round toothpick as the glue is applied. Work your way around the back side of the button with the superglue and toothpick. Once the glue has dried you can use an exacto knife or razor blade to trim off the excess fabric. the button should look something like this one.


") :
:


